No oven. No fancy equipment. Just layers of ice cream, cookies, and whipped cream that somehow turn into the most crowd-pleasing dessert you’ll ever put on a table.
And the secret? It’s almost embarrassingly simple.
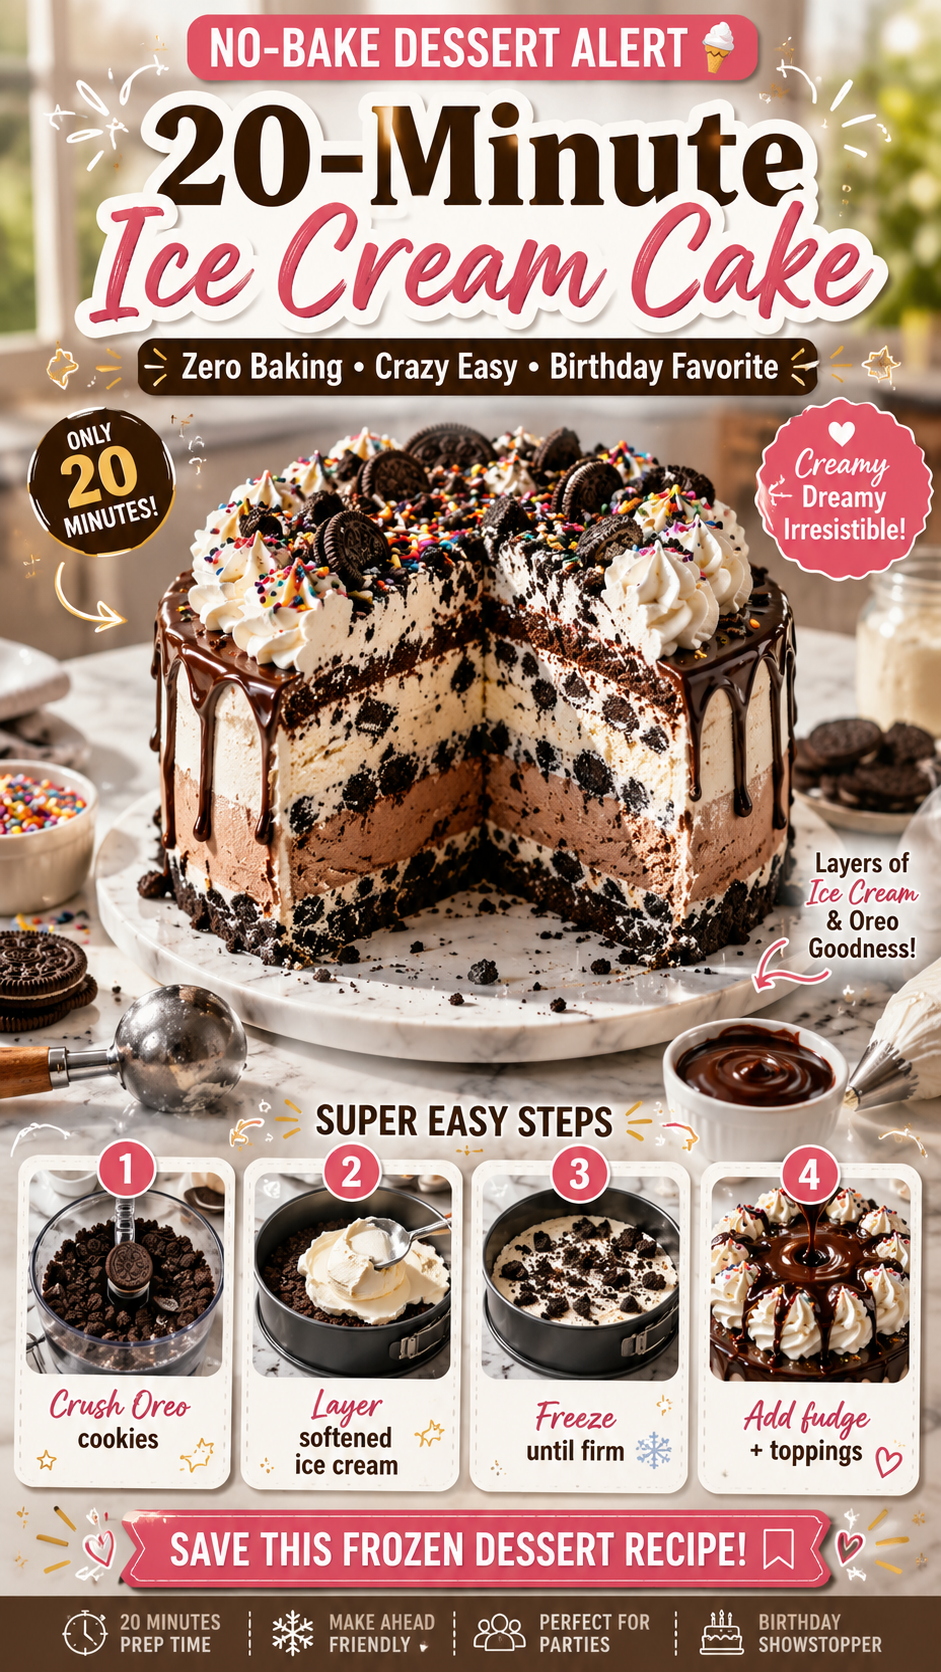
Recipe at a Glance
| Detail | Info |
|---|---|
| Prep Time | 20 minutes |
| Freeze Time | 6 hours (overnight ideal) |
| Serves | 10-12 |
| Skill Level | Beginner |
| Equipment Needed | Springform pan, stand or hand mixer |
Why This Ice Cream Cake Hits Different
Most people assume ice cream cake is a Dairy Queen thing. Something you order, not something you make.
But homemade ice cream cake is in a completely different league. 🙌
You control the flavors. You control the layers. And you can make it the night before, which means zero day-of stress when guests are coming over.
Fun fact: ice cream cake became popular in the U.S. in the 1940s when ice cream manufacturers started partnering with bakeries. It’s been a birthday staple ever since — and for good reason.
What You’ll Need
For the Crust
- 2 cups Oreo crumbs (about 24 cookies, filling included)
- 4 tablespoons unsalted butter, melted
For the Layers
- 1.5 quarts vanilla ice cream, softened
- 1.5 quarts chocolate ice cream, softened
- 1.5 cups hot fudge sauce, divided (store-bought is totally fine)
For the Topping
- 2 cups heavy whipping cream
- 3 tablespoons powdered sugar
- 1 teaspoon pure vanilla extract
- Extra Oreo crumbles for topping
- Chocolate shavings or sprinkles (optional)
Tools You’ll Need
- 9-inch springform pan
- Stand mixer or hand mixer with whisk attachment
- Offset spatula or large spoon
- Plastic wrap
- Parchment paper
- Freezer-safe storage wrap or lid

Pro Tips
These are the things that genuinely make a difference between a good ice cream cake and a great one.
- Soften your ice cream the right way. Pull it from the freezer 10-15 minutes before you need it. You want it spreadable, not soupy. Soupy ice cream layers = a messy, uneven cake.
- Freeze between every single layer. This is the step most people skip. Each layer needs at least 30-45 minutes in the freezer before you add the next one. Skip this and your layers will bleed into each other.
- Warm your fudge sauce slightly. Cold fudge is thick and hard to spread. Microwave it for 20-30 seconds so it pours easily — but let it cool a bit before adding it on top of the ice cream, or it’ll melt your layer.
- Line your pan with plastic wrap first. This makes removing the cake from the springform pan 10x easier and keeps everything clean.
- Make the whipped cream topping fresh. Don’t make it more than a few hours before serving or it can start to weep. If you’re prepping the night before, add the whipped topping the morning of and put it back in the freezer.
Step-by-Step Instructions
Step 1: Make the Crust
Line your 9-inch springform pan with plastic wrap, letting it hang over the edges.
Pulse Oreos in a food processor until you get fine crumbs. Mix in melted butter until it resembles wet sand.
Press the mixture firmly into the bottom of the pan. Use the back of a measuring cup to really pack it in.
Freeze for 20 minutes.
Step 2: First Ice Cream Layer
Take your softened vanilla ice cream and spread it evenly over the crust using an offset spatula.
Smooth it out as best you can — flat layers make for cleaner slices.
Freeze for 45 minutes.
Step 3: Hot Fudge Layer
Drizzle ¾ cup of slightly warm (not hot) fudge sauce over the vanilla layer.
Spread gently to cover. Don’t press too hard or you’ll disturb the layer underneath.
Freeze for 20 minutes.
Step 4: Second Ice Cream Layer
Spread your softened chocolate ice cream over the fudge layer.
Again, flat and even. Take your time here.
Freeze for another 45 minutes to 1 hour.
Step 5: Add the Remaining Fudge
Drizzle the remaining ¾ cup of hot fudge over the chocolate layer.
Spread gently, then freeze again for 30 minutes.
Step 6: Make the Whipped Cream
In a chilled bowl, beat heavy whipping cream, powdered sugar, and vanilla extract on high speed until stiff peaks form.
This takes about 3-4 minutes with a stand mixer, or 5-6 minutes with a hand mixer.
Step 7: Top and Freeze
Spread or pipe the whipped cream over the top of the cake.
Add Oreo crumbles, chocolate shavings, or whatever toppings you love.
Cover loosely and freeze for a minimum of 4 hours. Overnight is ideal.
Step 8: Serve
Run a warm knife around the edge of the pan before releasing the springform.
Slice with a warm, sharp knife — dip it in hot water between cuts for clean slices.
Substitutions and Variations
The beauty of this recipe is how much you can customize it.
Ice cream flavors:
- Swap vanilla for strawberry or mint chocolate chip
- Use cookies and cream + coffee ice cream for a mocha twist
- Peanut butter ice cream + chocolate fudge = a crowd favorite
Crust alternatives:
- Graham crackers instead of Oreos for a lighter base
- Brownie layer instead of cookie crust (make a thin brownie, let it cool completely)
- Golden Oreos for a vanilla-forward cake
Dietary swaps:
- Use dairy-free ice cream (coconut or oat milk-based) for a vegan version
- Coconut whipped cream works great as a dairy-free topping
- Gluten-free chocolate cookies for a GF crust
Make-Ahead Tips
This cake is practically built for making ahead. ✅
- Make it up to 3 days in advance and keep it covered in the freezer
- Add the whipped cream topping within 24 hours of serving
- If storing longer than 3 days, wrap tightly in plastic wrap then foil to prevent freezer burn
Nutritional Info (Per Slice, Serves 12)
| Nutrient | Amount |
|---|---|
| Calories | ~480 |
| Total Fat | 28g |
| Saturated Fat | 17g |
| Carbohydrates | 54g |
| Sugar | 40g |
| Protein | 6g |
Values are approximate and vary based on ice cream brand and portion size.
Meal Pairing Suggestions
Ice cream cake is a dessert, but it pairs really well with:
- BBQ or grilled mains — the cold, creamy cake is a perfect contrast to smoky, savory food
- Birthday dinners — obviously
- Summer dinner parties — make it the night before, and the dessert course handles itself
- Potlucks — transport it in a cooler and slice on arrival
Leftovers and Storage
Wrap any leftover slices individually in plastic wrap.
Store in the freezer for up to 2 weeks, though the whipped cream topping is best within the first 5 days.
To serve leftovers, pull a slice out and let it sit at room temp for 5-8 minutes before eating.
FAQ
Can I make this without a springform pan?
You can use a regular 9-inch cake pan lined with plastic wrap. Just make sure enough plastic wrap hangs over the edges so you can lift the whole cake out.
My ice cream is melting too fast. What do I do?
Work quickly and return everything to the freezer between steps. If your kitchen is warm, do each layer in small, fast bursts.
Can I use store-bought whipped topping instead of making my own?
Yes. Cool Whip works in a pinch. Homemade whipped cream holds better and tastes fresher, but store-bought will do the job.
How do I get clean slices?
Dip your knife in hot water and wipe it dry between each cut. It sounds extra, but it genuinely makes a huge difference.
Can I add a cake layer?
Absolutely. Bake a thin chocolate or vanilla cake layer, let it cool completely, and use it as the base or a middle layer. Just make sure it’s fully cooled or it’ll melt your ice cream.
How long can it sit out before serving?
About 5-10 minutes is the sweet spot. Long enough to soften slightly for easy slicing, short enough that it doesn’t turn into a puddle.
Wrapping Up
If you’ve been putting off making ice cream cake because it seemed complicated, consider this your sign to just go for it.
It’s forgiving. It’s flexible. And it looks way more impressive than the effort it actually takes.
Make it this weekend, bring it to your next get-together, or save it purely for yourself — no judgment here.
Once you try homemade, store-bought won’t cut it anymore.
Drop a comment below and let me know what flavor combo you went with! And if you have any questions while making it, ask away. 👇