You know that moment when you take a bite of something and your brain goes, “okay, I need this in my life forever”?
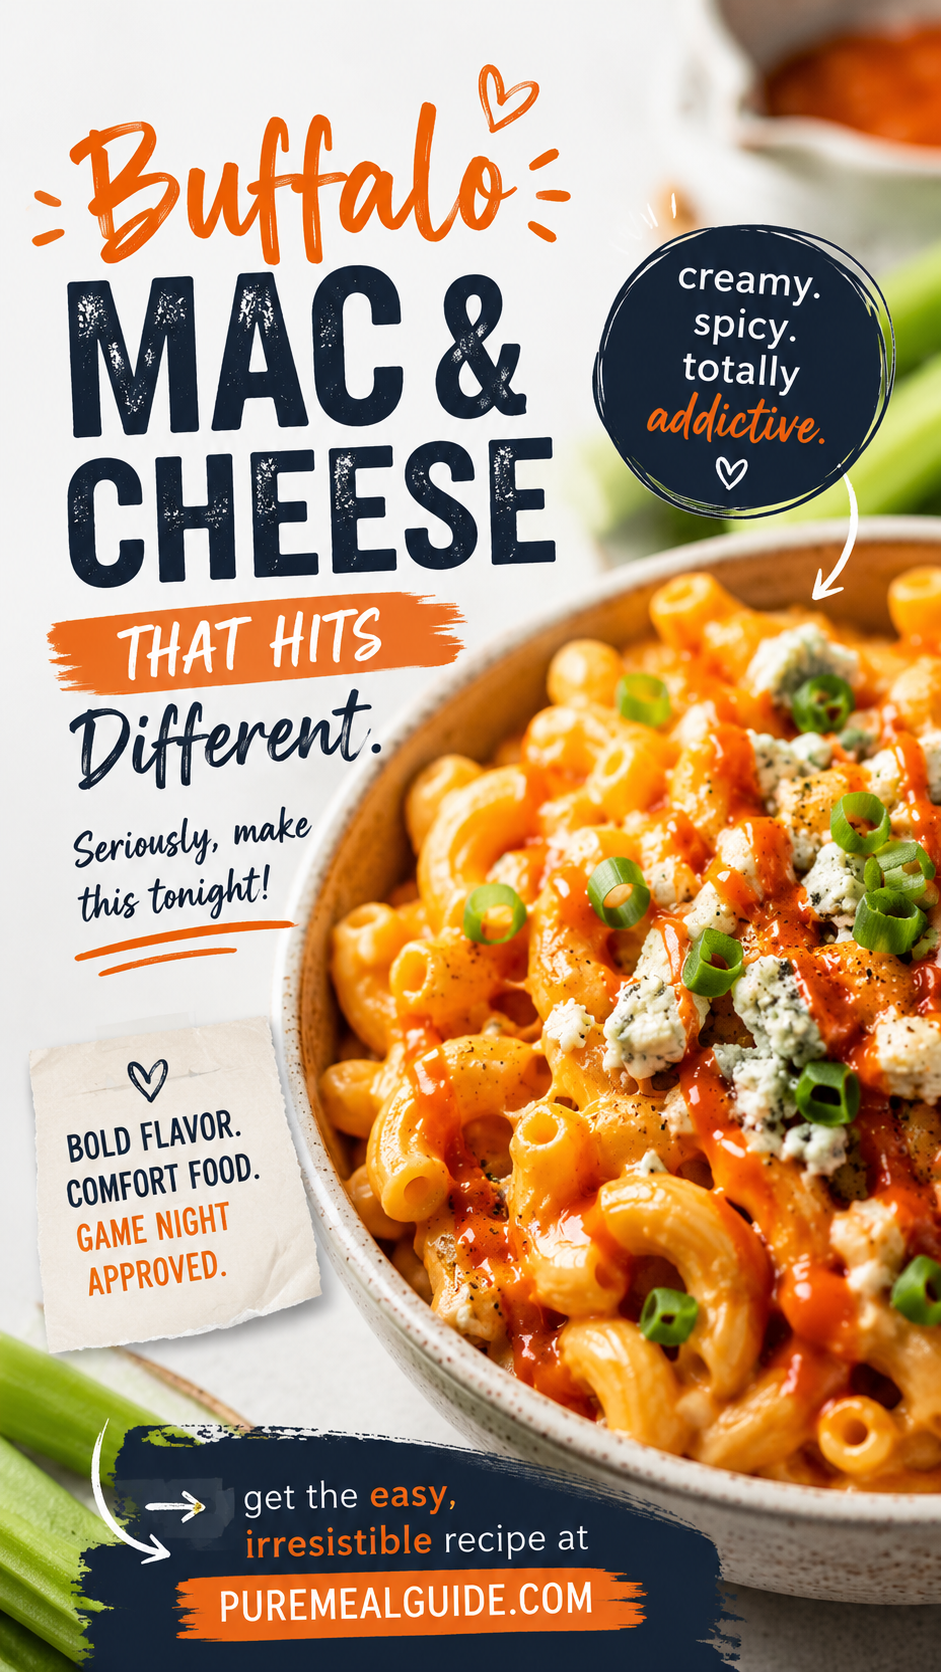
That’s buffalo mac and cheese.
It takes two comfort food classics and slams them together in a way that just makes sense. Creamy, cheesy pasta. Tangy, spicy buffalo sauce. Tender shredded chicken on top.
This is one of those recipes that sounds fancy but takes less than an hour to pull off — and it feeds a crowd without you losing your mind in the kitchen.
Recipe at a Glance
| Detail | Info |
|---|---|
| Prep Time | 15 minutes |
| Cook Time | 35 minutes |
| Total Time | 50 minutes |
| Servings | 6 |
| Difficulty | Easy |
| Best For | Dinner, game day, meal prep |
What Makes This So Good
Most buffalo chicken recipes stop at wings or a dip. But folding that sharp, vinegary heat into a velvety cheese sauce is a completely different experience.
The sauce clings to every piece of pasta. The buffalo flavor comes through in every single bite — not just at the top. And the blue cheese crumbles on top? They melt slightly from the heat and create these little pockets of tang that are really hard to stop eating.
One more thing worth knowing: this reheats beautifully. A lot of mac and cheese recipes turn grainy or dry the next day. This one doesn’t, and I’ll show you exactly why.
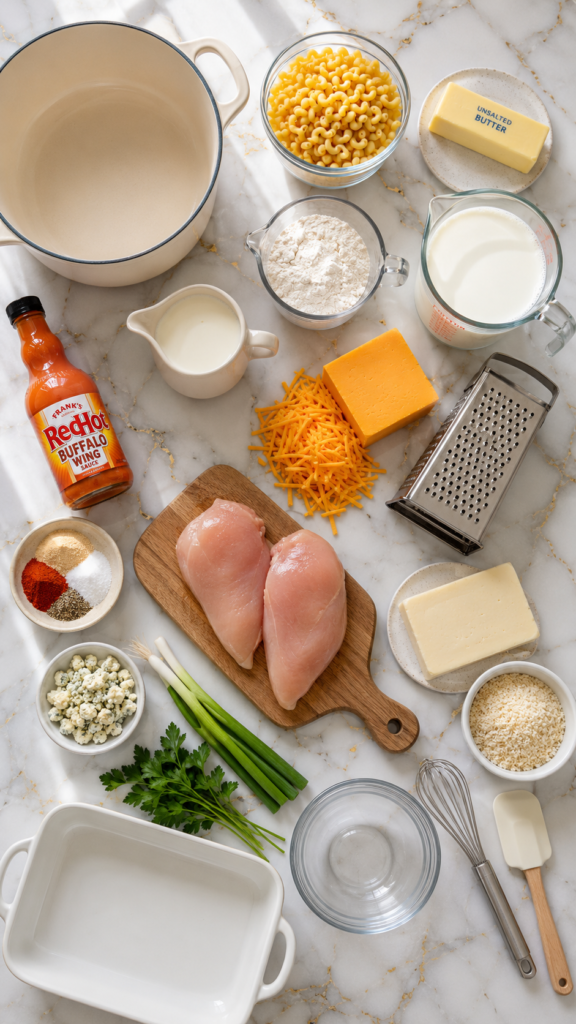
What You’ll Need
For the Pasta
- 1 lb elbow macaroni (or cavatappi — more on that below)
- Salted water for boiling
For the Cheese Sauce
- 3 tablespoons unsalted butter
- 3 tablespoons all-purpose flour
- 2 cups whole milk
- 1 cup heavy cream
- 2 cups sharp cheddar cheese, freshly shredded
- 1 cup Monterey Jack cheese, freshly shredded
- 1/2 cup Frank’s RedHot Buffalo Wing Sauce (not just hot sauce — the wing sauce specifically)
- 1 teaspoon garlic powder
- 1 teaspoon onion powder
- 1/2 teaspoon smoked paprika
- Salt and black pepper to taste
For the Buffalo Chicken
- 2 cups cooked chicken breast, shredded (rotisserie works great)
- 1/4 cup Frank’s RedHot Buffalo Wing Sauce
- 1 tablespoon unsalted butter
For the Topping
- 1/2 cup panko breadcrumbs
- 2 tablespoons unsalted butter, melted
- 1/2 cup blue cheese crumbles
- 2 stalks green onions, sliced thin
- 1 tablespoon fresh parsley, chopped
Tools You’ll Need
- Large pot (for pasta)
- Large saucepan or Dutch oven
- Whisk
- Box grater
- Colander
- 9×13 inch baking dish
- Small mixing bowl
- Wooden spoon or silicone spatula
Pro Tips
These are the things I wish someone had told me before making this the first time.
1. Shred your own cheese.
Pre-shredded cheese has a coating on it (usually potato starch or cellulose) that prevents it from melting smoothly. You’ll end up with a grainy sauce. Takes 3 extra minutes to shred it yourself and it makes a huge difference.
2. Don’t skip the roux.
The butter-flour base is what keeps your sauce from breaking or separating. Add your milk slowly while whisking constantly, and don’t rush this step. A smooth roux = silky sauce every time.
3. Pull the pasta out early.
Cook it about 2 minutes less than the package says. It’ll finish cooking in the oven, and al dente pasta absorbs the sauce way better than fully cooked pasta.
4. Use Frank’s Buffalo Wing Sauce specifically.
Regular Frank’s hot sauce is great, but the wing sauce is already buttery and balanced. It folds into the cheese sauce more naturally and doesn’t make it greasy.
5. Broil the last 2 minutes.
After baking, switch your oven to broil for just 2 minutes to get those panko breadcrumbs properly golden and crispy. Watch it closely — it goes from perfect to burnt fast.
Full Instructions
Step 1: Cook the pasta.
Bring a large pot of salted water to a boil. Cook your pasta 2 minutes less than the package directions. Drain and set aside.
Step 2: Make the buffalo chicken.
In a small pan over medium heat, melt 1 tablespoon of butter. Add the shredded chicken and 1/4 cup of buffalo sauce. Toss to coat and heat through, about 3-4 minutes. Set aside.
Step 3: Make the cheese sauce.
In a large saucepan over medium heat, melt 3 tablespoons of butter. Whisk in the flour and cook for 1-2 minutes, stirring constantly, until it smells slightly nutty.
Slowly pour in the milk and cream while whisking. Keep whisking until the mixture thickens, about 5-7 minutes.
Reduce heat to low. Add garlic powder, onion powder, smoked paprika, salt, and pepper. Stir to combine.
Remove from heat and fold in the cheddar and Monterey Jack cheese in batches, stirring until fully melted before adding more.
Stir in the 1/2 cup buffalo sauce.
Step 4: Combine.
Add the drained pasta to the cheese sauce and stir until everything is fully coated.
Step 5: Assemble.
Preheat your oven to 375°F. Pour half the mac and cheese into your greased 9×13 baking dish. Layer the buffalo chicken over the top. Spoon the remaining mac and cheese over the chicken.
Step 6: Make the topping.
Mix panko breadcrumbs with melted butter in a small bowl. Scatter over the top of the dish, then add blue cheese crumbles.
Step 7: Bake.
Bake uncovered for 20-25 minutes, until bubbling around the edges. Switch to broil for the last 2 minutes to crisp the topping.
Step 8: Finish and serve.
Remove from oven. Let it sit for 5 minutes before serving — this helps the sauce set up just slightly. Top with sliced green onions and fresh parsley.
Substitutions and Variations
There’s a lot of room to make this your own.
Pasta shape: Cavatappi, rotini, shells, or rigatoni all work. Anything with ridges or hollow centers that can trap sauce.
Cheese swaps: Gruyère adds a nuttier depth. Pepper jack amps up the heat. Smoked gouda is incredible if you want a smokier profile. Just always include at least one melty, mild cheese for texture.
Heat level:
- Mild: Use 1/4 cup buffalo sauce in the cheese sauce
- Medium: Keep it at 1/2 cup (this recipe as written)
- Hot: Add a teaspoon of cayenne or use a hotter wing sauce
Protein options: Pulled pork works beautifully here. Shrimp is surprisingly good. You can also skip the chicken entirely for a vegetarian version — it’s still very satisfying.
Topping ideas: Crushed Ritz crackers instead of panko for a buttery, softer crust. Ranch drizzle instead of blue cheese if you’re in the ranch camp. Crumbled bacon on top never hurts.
Make-Ahead Tips
This is a great dish to prep in advance.
Assemble everything up to step 6 (before baking), cover tightly with foil, and refrigerate for up to 24 hours.
When ready to bake, pull it out of the fridge 20-30 minutes before it goes in the oven. Add the breadcrumb topping right before baking so it doesn’t get soggy. Add 5-10 extra minutes to the bake time since it’s going in cold.
Nutritional Breakdown (Per Serving, Approximate)
| Nutrient | Amount |
|---|---|
| Calories | ~620 kcal |
| Protein | 34g |
| Carbohydrates | 52g |
| Fat | 28g |
| Sodium | ~980mg |
| Fiber | 2g |
Numbers will vary based on specific brands and any substitutions.
Meal Pairing Suggestions
This is a rich, filling dish, so lighter sides work best alongside it.
- A simple green salad with ranch or blue cheese dressing
- Celery and carrot sticks (very on theme for buffalo flavor)
- Roasted broccoli or cauliflower
- Cornbread if you want to go all in on comfort food
- A cold beer or sparkling water with lime to cut through the richness
Leftovers and Storage
Refrigerator: Store leftovers in an airtight container for up to 4 days.
Freezer: Freeze in individual portions for up to 2 months. Thaw overnight in the fridge before reheating.
Reheating: The key to keeping it creamy is adding a splash of milk before microwaving (about 2 tablespoons per serving). Stir halfway through. On the stovetop, reheat over low heat with a splash of milk, stirring gently.
Don’t reheat on high heat or skip the added liquid — that’s what dries it out.
FAQ
Can I use store-bought rotisserie chicken?
Yes, and it’s actually what I’d recommend for this recipe. It saves time and the pre-seasoned flavor from rotisserie chicken adds an extra layer to the dish.
What if I don’t like blue cheese?
Skip it entirely or swap for ranch dressing crumbles (yes, that’s a thing — ranch powder works great as a topping). The dish is still really good without blue cheese.
Can I make this on the stovetop instead of baking it?
You can stop after step 4 and serve it straight from the pot. It won’t have the crispy topping, but the flavor is still there. It’ll be creamier and saucier, which some people prefer.
My sauce turned out grainy. What happened?
This usually means the cheese was added to liquid that was too hot, or pre-shredded cheese was used. Always remove the sauce from heat before adding cheese, and grate it fresh.
Can I double the recipe?
Yes. Use two 9×13 dishes rather than trying to fit it all in one. Bake time stays roughly the same.
Is this kid-friendly?
That depends on the kid and your buffalo sauce amount. At 1/4 cup, it’s mild enough for most. At 1/2 cup (this recipe), there’s a noticeable kick. Taste the sauce before adding and adjust accordingly.
Wrapping Up
Buffalo mac and cheese is one of those recipes that sounds like it should be complicated, but it’s genuinely not.
You’re making a roux, you’re stirring in cheese, you’re tossing in pasta. That’s basically it.
And the result is something that gets requested at every gathering, disappears faster than anything else on the table, and — if you’re lucky — gives you leftovers that are somehow even better the next day.
Make it once and you’ll understand why people are obsessed. 🔥
Tried this recipe? Drop a comment below and let me know how it turned out. Did you go mild or did you go full heat? Any swaps you made? I’d love to hear about it.