I used to think homemade ice cream was one of those things that sounded great in theory but was way more trouble than it was worth.
Spoiler: I was completely wrong.
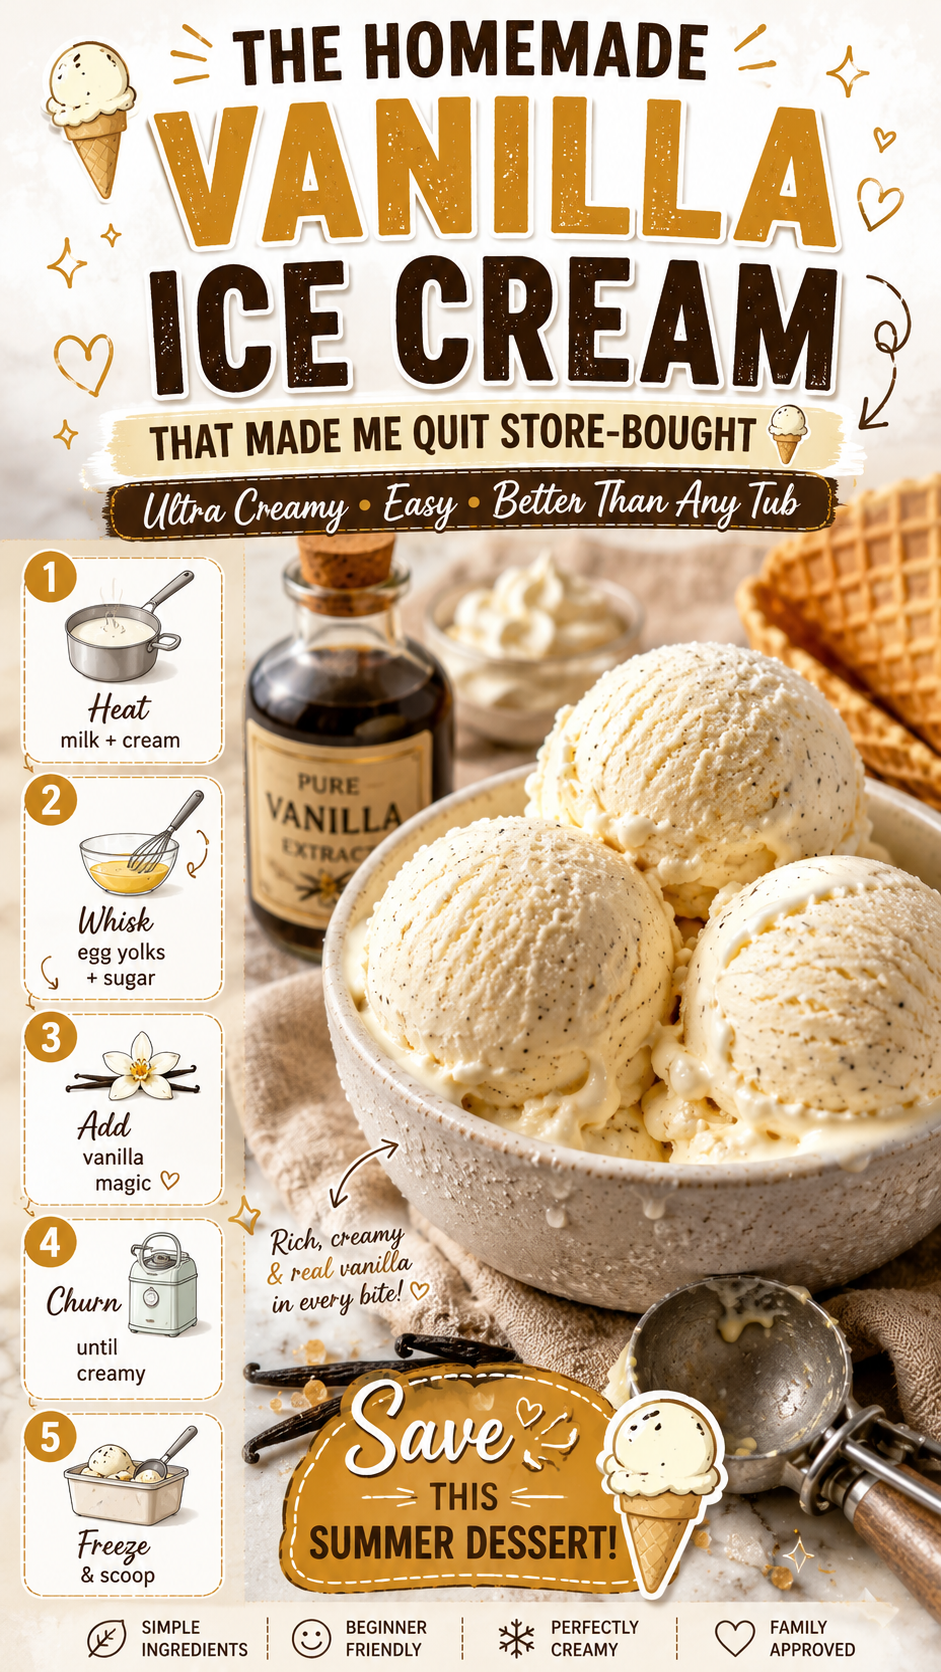
This vanilla ice cream recipe changed everything. It’s creamy in a way that feels almost unfair, with a deep, real vanilla flavor that no carton from the grocery store has ever come close to. And honestly? It’s simpler than you’d think.
Stick around, because there’s a tip later in this post that makes the difference between good ice cream and outrageously good ice cream. Most people skip it.
Recipe at a Glance
| Detail | Info |
|---|---|
| Prep Time | 15 minutes |
| Chill Time | 4+ hours (or overnight) |
| Churn Time | 20-25 minutes |
| Freeze Time | 2+ hours |
| Total Time | ~7 hours (mostly hands-off) |
| Servings | 8 (about 1 quart) |
| Difficulty | Easy |
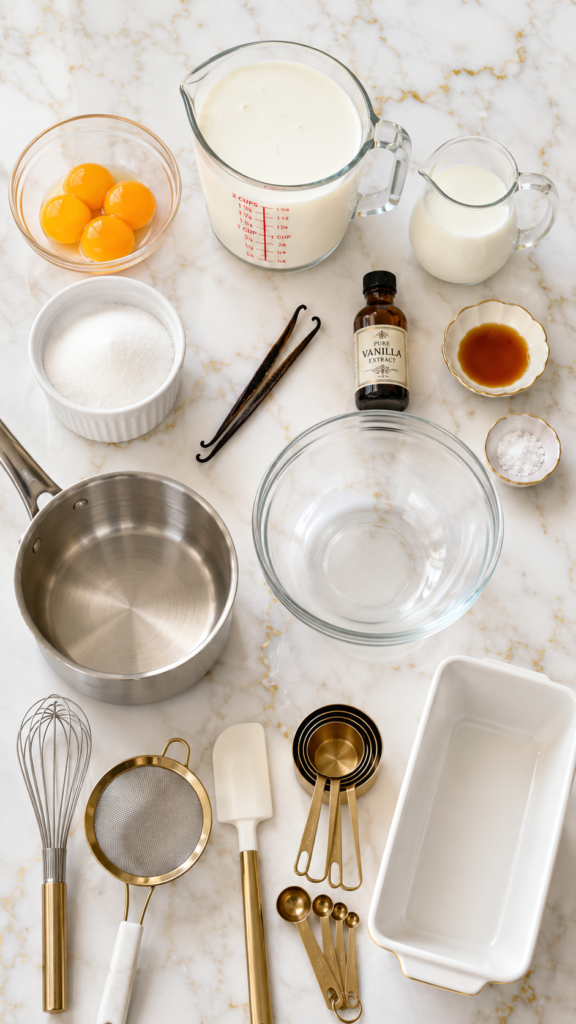
What You’ll Need
The Ice Cream Base
- 2 cups heavy whipping cream
- 1 cup whole milk
- 3/4 cup granulated white sugar
- 4 large egg yolks
- 2 teaspoons pure vanilla extract
- 1 vanilla bean (split and scraped)
- 1/4 teaspoon fine sea salt
Optional Add-Ins
- 1 tablespoon cream cheese (for extra body and creaminess)
- 1 tablespoon light corn syrup (helps prevent ice crystals)
Tools You’ll Need
- Medium saucepan
- Heatproof mixing bowl
- Whisk
- Fine mesh strainer
- Ice cream maker
- Rubber spatula
- Airtight freezer-safe container (loaf pan works great)
- Plastic wrap or parchment paper
- Measuring cups and spoons
- Instant-read thermometer (optional, but helpful)
Pro Tips
These are the things I wish someone had told me the first time I made this. Learn from my trial runs so you don’t have to.
- Temper the eggs slowly. When you add the hot cream mixture to the egg yolks, go slow. A ladle at a time. If you rush it, you’ll end up with scrambled eggs floating in your custard, and that is not a vibe.
- Chill your custard completely before churning. Not just until it’s “cool enough.” All the way cold. Overnight in the fridge is ideal. A fully chilled base churns faster and produces smaller ice crystals, which means creamier texture.
- Don’t skip the vanilla bean. Yes, the extract alone works. But when you add a real vanilla bean? You get those gorgeous little black specks and a flavor that’s almost floral. It’s a small upgrade with a big payoff.
- Press plastic wrap directly onto the surface before freezing. This prevents that weird icy layer that can form on top. It takes three seconds and saves you from a freezer-burned situation.
- Pull the ice cream out 5 minutes before serving. Straight from the freezer it can be rock solid. Just a few minutes on the counter and it scoops like a dream.
How to Make Homemade Vanilla Ice Cream
Step 1: Make the Custard Base
Add the heavy cream, whole milk, and half the sugar (about 6 tablespoons) to a medium saucepan over medium heat.
Split your vanilla bean lengthwise, scrape out the seeds, and add both the seeds and the pod to the pot.
Heat the mixture, stirring occasionally, until it just begins to steam. Don’t let it boil.
Step 2: Whisk the Egg Yolks
In a heatproof bowl, whisk together the egg yolks and remaining sugar until the mixture turns pale and slightly thick. This takes about 2 minutes and makes your custard silky instead of grainy.
Step 3: Temper the Eggs
Here’s the step that trips people up. Slowly pour the warm cream mixture into the egg yolks, about a ladleful at a time, whisking constantly.
Once you’ve added about half the cream, you can pour in the rest more quickly while still whisking. The goal is to raise the temperature of the eggs gradually so they don’t scramble.
Step 4: Cook the Custard
Pour everything back into the saucepan and cook over medium-low heat, stirring constantly with a rubber spatula, until the custard thickens slightly and coats the back of the spatula.
If you have a thermometer, you’re looking for 170-175°F (77-79°C). Don’t go over 180°F or the eggs will curdle.
Step 5: Strain and Cool
Immediately pour the custard through a fine mesh strainer into a clean bowl to catch any cooked egg bits and remove the vanilla pod.
Stir in the vanilla extract and sea salt.
Let the mixture cool to room temperature, then cover and refrigerate for at least 4 hours. Overnight is better.
Step 6: Churn
Pour the cold custard into your ice cream maker and churn according to the manufacturer’s instructions. Most machines take about 20-25 minutes. The ice cream should look like thick soft serve when done.
Step 7: Freeze
Transfer to a freezer-safe container, press plastic wrap directly on the surface, and freeze for at least 2 hours until firm.
Scoop and enjoy 😊
Substitutions and Variations
Not everyone has the same pantry (or dietary needs). Here’s how to make this work for you:
- No ice cream maker? Pour the finished, chilled custard into a shallow dish and freeze. Every 30 minutes, stir vigorously with a fork for about 2-3 hours. It won’t be quite as smooth, but it works.
- Dairy-free version: Swap heavy cream and whole milk for full-fat coconut cream and oat milk. The texture changes slightly but it’s still rich.
- No vanilla bean? Use 1 tablespoon of pure vanilla extract or 1 teaspoon of vanilla bean paste instead. Paste is actually a great middle-ground option.
- Lower sugar: Reduce sugar to 1/2 cup and add 2 tablespoons of corn syrup to help maintain texture.
- Extra richness: Replace 1/4 cup of the whole milk with 1/4 cup of heavy cream.
Make-Ahead Tips
This recipe is practically made for making ahead.
- The custard base can be made up to 3 days in advance and stored in the fridge. Churn it whenever you’re ready.
- Once churned and fully frozen, the ice cream keeps well for up to 2 weeks.
- For best texture, let the container sit on the counter for 5 minutes before scooping.
Nutritional Breakdown (Per Serving)
Based on 8 servings using the standard recipe, calculated approximately.
| Nutrient | Amount |
|---|---|
| Calories | ~290 kcal |
| Total Fat | 22g |
| Saturated Fat | 13g |
| Carbohydrates | 20g |
| Sugar | 19g |
| Protein | 4g |
| Cholesterol | 155mg |
| Sodium | 90mg |
Nutritional values are estimates and will vary based on exact ingredients used.
Meal Pairing Ideas
Vanilla ice cream is one of those things that goes with almost everything, which is kind of its superpower.
- Warm apple crisp or peach cobbler
- Brownies (obviously)
- Waffles for a weekend brunch treat
- Alongside a slice of pie (pecan, pumpkin, or cherry)
- Sandwiched between two chewy cookies for ice cream sandwiches
Leftovers and Storage
- Store in an airtight container with plastic wrap pressed directly on the ice cream surface.
- Keeps in the freezer for up to 2 weeks for best quality.
- If it gets icy, let it sit at room temperature for 5-10 minutes and re-stir before serving. This won’t restore it completely, but it helps.
- Don’t refreeze ice cream that’s fully melted. Once it melts all the way through, the texture changes and it can become grainy.
FAQ
Do I have to use egg yolks?
No, but they’re what gives this ice cream its richness and creamy texture. Egg yolks create a custard-style base (called Philadelphia-style if you skip them). Skip-able, but you’ll notice the difference.
My custard curdled. Can I fix it?
Sometimes! If it’s just slightly grainy, pour it immediately through a fine mesh strainer and blend quickly with an immersion blender. If it’s full-on scrambled eggs, that batch is unfortunately done.
Can I double the recipe?
Yes, but check if your ice cream maker can handle the volume. Most home machines max out at 1.5-2 quarts.
Why is my ice cream icy instead of creamy?
This usually means either the base wasn’t cold enough before churning, or it’s been in the freezer too long. Corn syrup added to the base helps prevent ice crystals too.
Do I really need a vanilla bean?
Nope. Pure vanilla extract works just fine. The vanilla bean just gives you a more complex, nuanced flavor and the pretty specks. It’s worth it if you can find them.
Can I make this without an ice cream maker?
Yes! See the substitutions section above for the no-churn method using a fork.
Wrapping Up
Here’s the thing about homemade vanilla ice cream: once you make it yourself, you’ll understand why it’s called classic.
It doesn’t need toppings to be impressive. It doesn’t need mix-ins to stand out. It just needs good ingredients and a little patience, and in return, it gives you something that feels genuinely special every single time you scoop it.
So make it this weekend. Or tonight. You’ll see what I mean.
And then come back here and drop a comment below. I’d love to hear how yours turned out, what you paired it with, or any questions you ran into along the way. I read every single one 👇