There’s a reason people go back for a second slice before the first one is even finished.
You know that cake that shows up at a gathering and suddenly everyone’s asking for the recipe?
This is that cake.
Orange Butter Cake is one of those recipes that sounds simple on paper — and it is — but the result is something that tastes like it took way more effort than it actually did. It’s golden, dense in the best way, tender, and has this citrusy butter flavor that hits differently from your typical lemon cake or vanilla sponge.
And here’s the thing that surprises most people: the orange flavor isn’t overpowering. It’s just right. Like someone turned up the brightness on a regular butter cake and made everything taste more alive.
This one’s going in your permanent rotation. Trust me on this.
Recipe at a Glance
| Detail | Info |
|---|---|
| Prep Time | 20 minutes |
| Cook Time | 45–50 minutes |
| Total Time | ~1 hour 15 minutes |
| Servings | 10–12 slices |
| Difficulty | Easy |
| Best For | Brunch, afternoon tea, birthdays, gatherings |
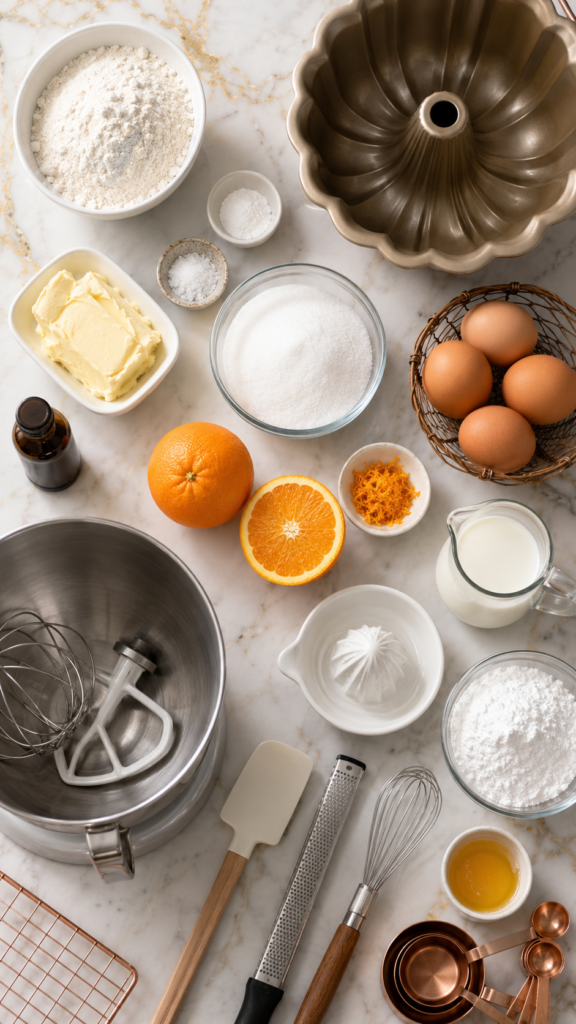
What You’ll Need
For the Cake
- 2 ½ cups (315g) all-purpose flour
- 2 ½ tsp baking powder
- ½ tsp fine sea salt
- 1 cup (225g) unsalted butter, softened to room temperature
- 1 ¾ cups (350g) granulated white sugar
- 4 large eggs, room temperature
- 2 tsp pure vanilla extract
- 2 tbsp fresh orange zest (from about 2 large navel oranges)
- ¼ cup (60ml) fresh orange juice
- ¾ cup (180ml) whole milk, room temperature
For the Orange Butter Glaze
- 1 cup (120g) powdered sugar, sifted
- 3 tbsp fresh orange juice
- 1 tsp fresh orange zest
- 1 tbsp unsalted butter, melted
Tools You’ll Need
- 10-cup bundt pan (or a 9×13 inch baking pan)
- Stand mixer or electric hand mixer
- Large mixing bowl
- Medium mixing bowl
- Rubber spatula
- Fine-mesh zester or microplane
- Citrus juicer
- Wire cooling rack
- Whisk
- Measuring cups and spoons
Pro Tips
These are the things that make the difference between a good cake and a great one:
- Room temperature everything. Butter, eggs, and milk all need to be at room temperature before you start. Cold butter won’t cream properly and cold eggs can cause the batter to curdle. Pull them out 45 minutes before you bake.
- Zest before you juice. Always zest your oranges first. Once you’ve cut them open for juicing, zesting gets messy and you lose a lot of the good stuff. Also — use a microplane, not a box grater. The difference in texture is massive.
- Don’t skip the glaze soak. Pour half the glaze over the cake while it’s still warm (in the pan or just out of it). It soaks in and makes the inside of the cake taste like it’s been kissed with orange butter from the inside out. Then pour the rest once it’s fully cooled for that glossy finish on top.
- Measure your flour correctly. Don’t scoop straight from the bag — spoon the flour into your measuring cup and level it off. Packing flour can add up to 20% more than you need, which makes for a dry, dense cake.
- Check early. Every oven runs differently. Start checking at the 40-minute mark by inserting a toothpick into the center. It should come out with just a few moist crumbs, not wet batter. Overbaking is the #1 thing that ruins a butter cake.
How to Make Orange Butter Cake
Step 1: Prep Your Pan and Oven
Preheat your oven to 350°F (175°C).
Grease your bundt pan very thoroughly with softened butter, then dust with flour, tapping out the excess. This is not the step to rush. Bundt cakes are beautiful, but they will stick if you don’t grease every single crevice.
Step 2: Mix Your Dry Ingredients
In a medium bowl, whisk together the flour, baking powder, and salt. Set aside.
Step 3: Cream Butter and Sugar
In your stand mixer (or with a hand mixer), beat the softened butter and granulated sugar on medium-high speed for 4–5 minutes.
You’re looking for a mixture that’s noticeably lighter in color and fluffy. This step builds the structure of your cake, so don’t rush it.
Step 4: Add Eggs and Flavorings
Add the eggs one at a time, beating well after each addition.
Then mix in the vanilla extract and orange zest. The batter is going to smell incredible at this point — just a heads up.
Step 5: Alternate Wet and Dry
With your mixer on low, add the flour mixture in three additions, alternating with the milk and orange juice (combined).
Start and end with the flour. Mix just until combined — overmixing develops the gluten and makes the cake tough.
Step 6: Bake
Pour the batter into your prepared pan and smooth the top.
Bake for 45–50 minutes, or until a toothpick inserted in the center comes out with just a few moist crumbs.
Step 7: Make the Glaze and Finish
While the cake is in its final 10 minutes of baking, whisk together the powdered sugar, orange juice, orange zest, and melted butter until smooth.
Once the cake is out of the oven, let it sit for 10 minutes in the pan, then flip it onto your wire rack. Pour half the glaze over the warm cake. Let it cool completely, then drizzle the remaining glaze over the top.
Substitutions and Variations
- Blood orange version: Swap regular navel oranges for blood oranges for a deeper, slightly more tart flavor and a beautiful pinkish hue in the glaze.
- Lemon-orange combo: Use 1 tbsp lemon zest + 1 tbsp orange zest for a brighter, more citrus-forward cake.
- Dairy-free: Substitute the butter with vegan butter (like Miyoko’s) and the whole milk with full-fat oat milk or canned coconut milk.
- Gluten-free: A 1:1 gluten-free flour blend works well here. Bob’s Red Mill and King Arthur both make reliable options.
- Cream cheese glaze: Skip the butter glaze and beat 4 oz softened cream cheese with ½ cup powdered sugar and 2 tbsp orange juice for a tangier finish.
- Add-ins: A handful of dark chocolate chips or candied orange peel folded into the batter takes this to a completely different place.
Make-Ahead Tips
- Bake a day ahead. This cake actually tastes better the next day once the flavors have had time to settle. Store it covered at room temperature.
- Freeze the unfrosted cake. Wrap cooled, unglazed cake tightly in plastic wrap + foil and freeze for up to 2 months. Thaw overnight at room temperature, then add the glaze.
- Prep the glaze ahead. The glaze can sit covered in the fridge for up to 3 days. Bring it to room temperature and give it a stir before using.
Nutritional Breakdown (per slice, based on 12 servings)
| Nutrient | Amount |
|---|---|
| Calories | ~410 kcal |
| Total Fat | 21g |
| Saturated Fat | 13g |
| Carbohydrates | 52g |
| Sugar | 34g |
| Protein | 5g |
| Fiber | 0.8g |
| Sodium | 185mg |
Nutritional values are estimates and will vary based on exact ingredients used.
Meal Pairing Suggestions
This cake works beautifully as:
- A brunch centerpiece alongside scrambled eggs and a fruit salad
- An afternoon tea cake with Earl Grey or chamomile
- A light dessert after a heavier dinner (think roasted chicken or pasta)
- A birthday cake — dress it up with orange segments and a dusting of powdered sugar
Leftovers and Storage
- Room temperature: Keep covered with plastic wrap or in an airtight container for up to 3 days.
- Refrigerator: Store for up to 5 days. The glaze may absorb into the cake more over time, but the flavor only gets better.
- Freezer: Freeze individual slices wrapped in plastic wrap + stored in a zip-lock bag for up to 2 months. Thaw at room temperature for about an hour.
- Reheating: A quick 10 seconds in the microwave makes it taste fresh-baked all over again. Highly recommend.
FAQ
Can I use bottled orange juice instead of fresh?
You can, but fresh makes a noticeable difference here. Bottled juice tends to have a flatter, less bright citrus flavor. Since the orange is the star of this cake, fresh is worth the extra two minutes.
My cake stuck to the bundt pan. What went wrong?
Two things: either the pan wasn’t greased thoroughly enough, or the cake was flipped too soon. Let it rest for exactly 10 minutes before turning — no more, no less. And really get butter into every single groove of the pan before flouring.
Can I make this as cupcakes?
Yes! Fill lined cupcake tins ⅔ full and bake at 350°F for 18–22 minutes. This recipe makes about 24 cupcakes.
Can I make it without a bundt pan?
A 9×13 inch pan works great. Reduce the baking time to about 35–40 minutes and check early. A 9-inch round pan also works, but you’d need to bake two layers.
My batter looks curdled after I added the eggs. Is that okay?
This usually happens when the eggs are too cold. If the batter looks a bit curdled, keep going — once you add the flour, it will come back together. From now on, pull your eggs out 45 minutes before baking.
Can I reduce the sugar?
You can reduce it by up to ¼ cup without majorly affecting the texture. Going much lower than that will affect how the cake browns and its overall structure.
Wrapping Up
If you’ve been on the lookout for a cake that looks impressive, tastes even better, and doesn’t require a culinary degree to pull off — this is it.
The Orange Butter Cake is one of those recipes you’ll reach for over and over again. Brunch, birthdays, random Tuesday cravings… it fits every occasion without even trying.
Give it a go and then come back and let me know how it turned out. 🍊
Drop a comment below — did you stick to the original, or did you try one of the variations? Any questions at all, I’m here!