You’ve had cheesecake before. You think you know what cheesecake is.
And then you try this one, and suddenly every other cheesecake you’ve ever eaten feels like it was holding back on you.
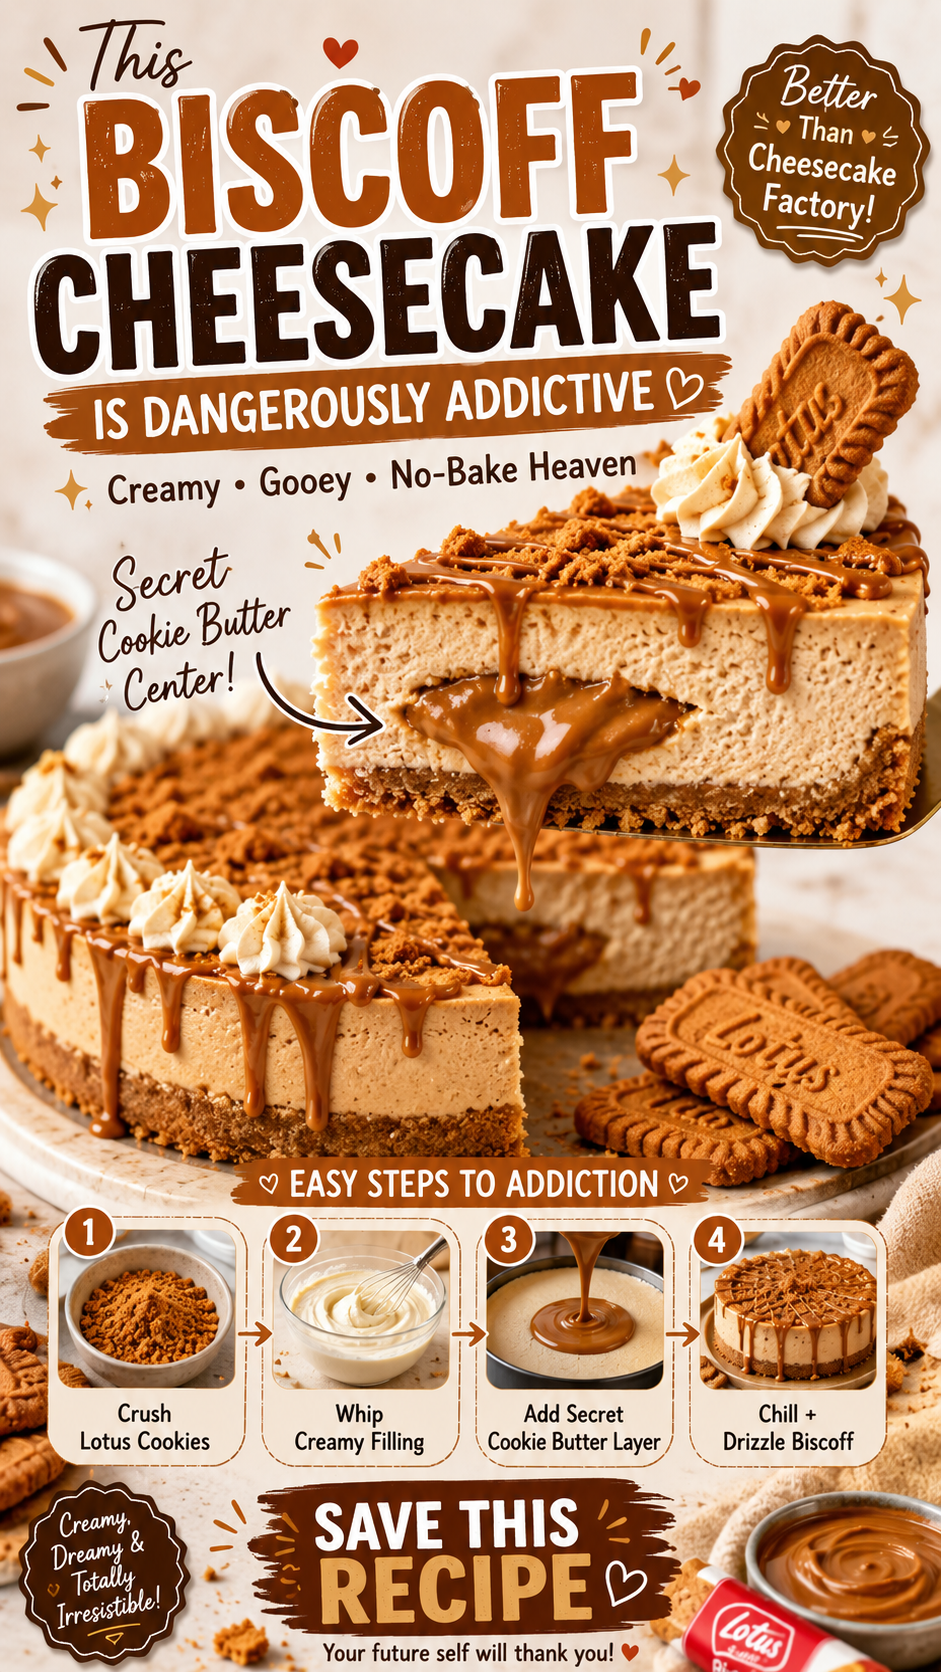
Biscoff cheesecake is the no-bake dessert that took over the internet for a reason. It’s creamy, rich, and built on a cookie butter base that tastes like someone turned a spiced caramel dream into a spreadable ingredient. (Because they did. And it’s spectacular.)
The fun part? You don’t even need an oven.
Stick around, because there’s a little trick in the Pro Tips section that most recipes don’t mention, and it completely changes the texture of the filling. You’ll want to know it before you start.
Recipe at a Glance
| Detail | Info |
|---|---|
| Prep Time | 25 minutes |
| Chill Time | 6 hours (overnight recommended) |
| Serves | 10-12 slices |
| Difficulty | Easy |
| Baking Required | No |
| Total Hands-On Time | ~25 minutes |
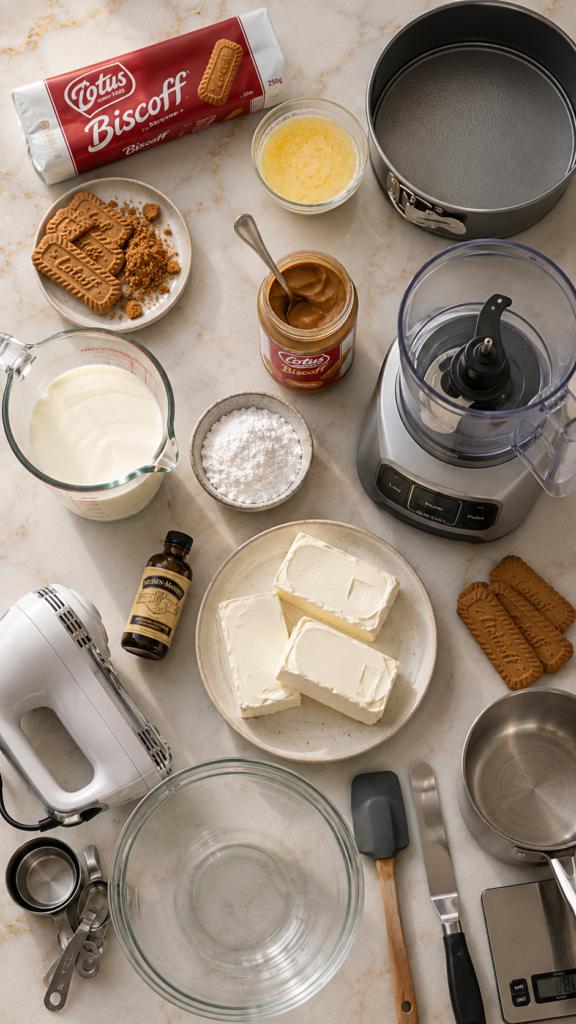
What You’ll Need
For the Biscoff Crust
- 250g (about 30) Lotus Biscoff cookies
- 75g (5 tbsp) unsalted butter, melted
For the Cheesecake Filling
- 600g (21 oz) full-fat cream cheese, room temperature
- 200ml (¾ cup + 1 tbsp) double/heavy cream, cold
- 150g (½ cup + 1 tbsp) smooth Biscoff cookie butter spread
- 100g (¾ cup) powdered sugar, sifted
- 1 tsp vanilla extract
For the Topping
- 100g (⅓ cup) Biscoff cookie butter spread, slightly warmed
- 4-5 Lotus Biscoff cookies, for garnish
- Optional: whipped cream for decoration
Tools You’ll Need
- 9-inch (23cm) springform pan
- Food processor or zip-lock bag + rolling pin
- Two large mixing bowls
- Electric hand mixer or stand mixer
- Rubber spatula
- Offset spatula or the back of a spoon
- Small saucepan (for warming the topping)
- Measuring cups and kitchen scale
Pro Tips
1. Room temperature cream cheese is non-negotiable. If your cream cheese is even slightly cold, you’ll get lumps in your filling. Take it out of the fridge at least an hour before you start. This one step is the difference between silky-smooth and slightly grainy.
2. Don’t overwhip the cream. Whip your heavy cream to soft peaks, not stiff. Overmixing makes the filling dense and can cause it to crack at the edges when you slice it. Soft peaks give you that cloud-like, mousse-y texture everyone goes crazy for.
3. Press the crust firmly and high up the sides. A loose crust is the most common reason slices fall apart. Use the bottom of a flat glass to pack it in tight, and press it at least 1 inch up the sides of the pan. This holds everything together when you cut and serve.
4. Chill it overnight. Six hours is the minimum, but overnight is where the magic happens. The filling sets more completely and the flavors deepen. If you can plan ahead, this is always worth it.
5. Warm your Biscoff topping slightly before pouring. Biscoff spread straight from the jar can be thick and drag the filling as you pour it. Warm it in a small saucepan over low heat for 1-2 minutes until it flows smoothly. It’ll set into that gorgeous glossy finish once chilled.
How to Make Biscoff Cheesecake
Step 1: Make the Crust
- Add your Biscoff cookies to a food processor and blitz into fine crumbs. No food processor? Seal them in a zip-lock bag and crush with a rolling pin.
- Pour in the melted butter and pulse (or mix with a fork) until the mixture looks like wet sand.
- Press the crumb mixture into the base and up the sides of your springform pan. Use a flat-bottomed glass to pack it firmly.
- Refrigerate the crust for 20 minutes while you make the filling.
Step 2: Make the Filling
- Beat the room-temperature cream cheese with an electric mixer on medium speed for about 2 minutes until smooth and fluffy.
- Add the Biscoff spread, powdered sugar, and vanilla extract. Mix until fully combined and creamy, scraping down the sides of the bowl as needed.
- In a separate bowl, whip the cold heavy cream to soft peaks.
- Gently fold the whipped cream into the cream cheese mixture using a rubber spatula. Fold, don’t stir. You want to keep it airy.
- Pour the filling onto your chilled crust. Smooth the top with an offset spatula.
Step 3: Chill
Wrap the pan loosely and refrigerate for a minimum of 6 hours. Overnight gives you the cleanest set.
Step 4: Add the Topping
- Gently warm your Biscoff spread in a small saucepan until it flows easily.
- Let it cool for 2-3 minutes (you don’t want it hot enough to melt the filling), then pour slowly over the top of the cheesecake.
- Tilt the pan gently to spread it to the edges, or use the back of a spoon.
- Crush a few Biscoff cookies and press them around the edge or scatter them across the top.
- Refrigerate for another 20-30 minutes to let the topping set before slicing.
Step 5: Serve
Run a thin knife around the edge of the pan before releasing the springform. Slice with a sharp knife, wiping it clean between cuts for picture-perfect slices.
Substitutions and Variations
| Swap | Use Instead |
|---|---|
| Lotus Biscoff cookies (crust) | Digestive biscuits or graham crackers + 1 tsp cinnamon |
| Biscoff spread (filling) | Peanut butter or Nutella for a different flavor |
| Heavy/double cream | Full-fat coconut cream (for dairy-free version) |
| Cream cheese | Dairy-free cream cheese (Violife works great) |
| Powdered sugar | Swap 1:1 with any powdered sweetener for low-sugar |
Flavor variations worth trying:
- Chocolate Biscoff: Stir 2 tbsp cocoa powder into the filling
- Salted Caramel Biscoff: Drizzle salted caramel alongside the Biscoff topping
- Biscoff Cheesecake Bars: Use a square 8×8 pan and skip the springform for easy portioning
Make-Ahead Tips
This cheesecake is made for making ahead 🙌
- 1-2 days ahead: Make the whole cheesecake (without the topping) and refrigerate. Add the Biscoff topping on the day you serve it.
- Freeze it: Wrap slices individually in plastic wrap and freeze for up to 1 month. Thaw in the fridge overnight before serving.
Nutritional Breakdown
| Per Serving (based on 12 slices) | Approximate |
|---|---|
| Calories | ~430 kcal |
| Carbohydrates | ~35g |
| Fat | ~30g |
| Protein | ~5g |
| Sugar | ~22g |
These are estimates and will vary based on exact brands used.
Leftovers and Storage
- In the fridge: Covered with plastic wrap or in an airtight container, this keeps beautifully for up to 5 days.
- In the freezer: Slice and freeze for up to 1 month. The texture stays surprisingly good. Thaw slices in the fridge for a few hours before eating.
- Do not leave at room temperature: Cream cheese-based desserts should never sit out for more than 2 hours.
FAQ
Can I make this without a springform pan? You can use a regular 9-inch round cake pan lined with plastic wrap or parchment. It won’t release as cleanly, but it works. Pull the cheesecake out by lifting the plastic wrap.
Why is my cheesecake not setting properly? This is almost always one of two things: the cream cheese wasn’t fully at room temperature, or the cheesecake didn’t chill long enough. Six hours is the minimum. Give it more time before you panic.
Can I use Biscoff crunchy spread instead of smooth? Yes, and it actually adds a lovely texture to the filling. The topping will be a bit chunkier, but that’s not a bad thing.
My filling looks a little lumpy. What happened? Cold cream cheese. Every time. Take it out of the fridge earlier next time and beat it well before adding anything else.
Can I add gelatin to help it set firmer? You can, but you won’t need it if you chill it long enough. If you’re in a rush and need it set faster, bloom 1 tsp of unflavored gelatin in 2 tbsp cold water, melt it, cool it, and fold it into the filling before chilling.
Is this recipe gluten-free? Lotus Biscoff cookies contain wheat, so the standard version is not gluten-free. Look for gluten-free speculoos-style cookies as a substitute for the crust.
Wrapping Up
This Biscoff cheesecake is the kind of recipe you make once and then someone at the table asks you to make it every single time after that.
It’s genuinely one of those no-bake desserts where people assume you spent way more time on it than you did. Twenty-five minutes of work. Overnight in the fridge. And then you show up with that.
Give it a try this weekend, and then come back and leave a comment below. I want to know how it went, what variation you tried, and honestly, how fast it disappeared. 😄
Any questions before you start? Drop them in the comments too. I check them and I’ll get back to you.