You’ve tried gluten free pancakes before. And they were… fine.
Flat, a little gummy, weirdly dense. You ate them because you had to, not because you wanted to.
This recipe? Completely different story. 😮
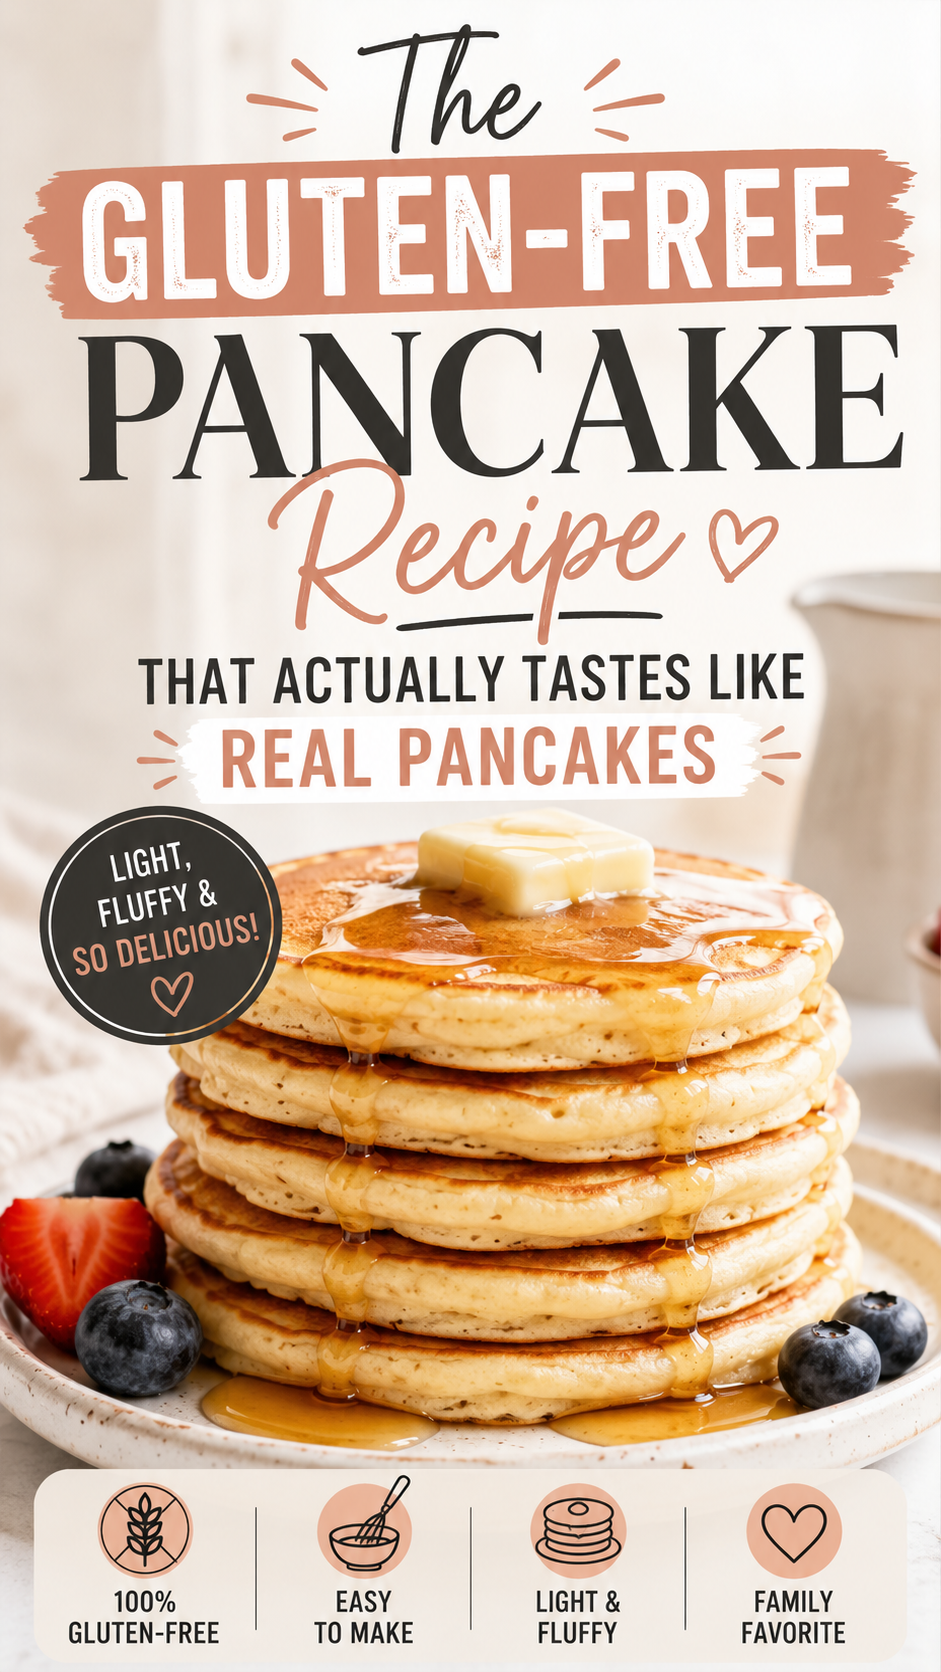
These are fluffy, golden, and stack beautifully. They taste like the pancakes you grew up on — except they won’t make you feel awful afterward. And once you nail these, you’ll stop missing the original version entirely.
Keep reading, because the Pro Tips section alone is going to change how you make pancakes forever.
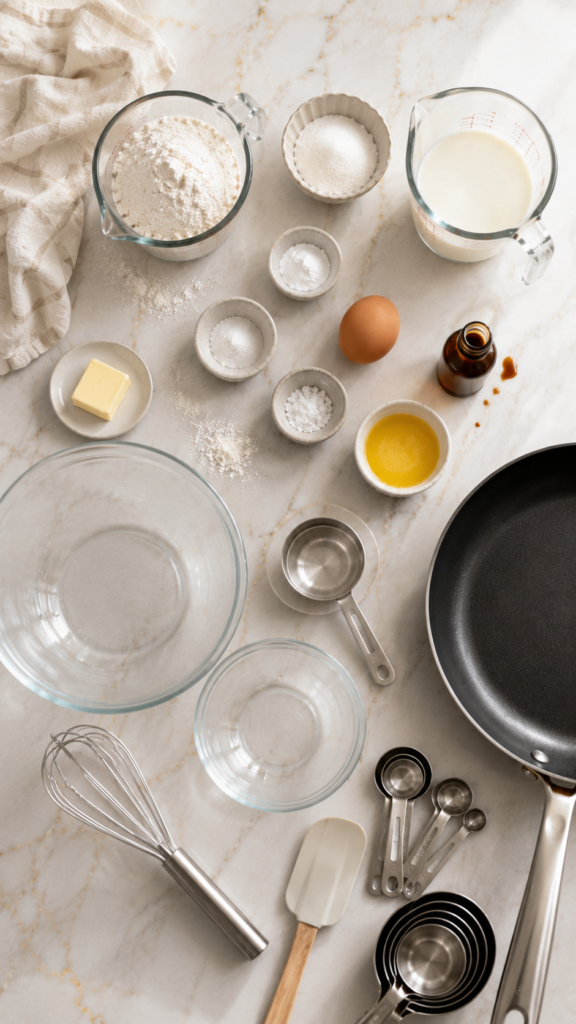
What You’ll Need
Dry Ingredients:
- 1 cup (120g) gluten free 1:1 baking flour (like Bob’s Red Mill or King Arthur)
- 1 tbsp granulated sugar
- 1 tsp baking powder
- ½ tsp baking soda
- ¼ tsp fine sea salt
Wet Ingredients:
- 1 cup (240ml) buttermilk (or dairy-free alternative)
- 1 large egg
- 2 tbsp melted butter or neutral oil
- 1 tsp pure vanilla extract
For cooking:
- Butter or coconut oil for the pan
Tools You’ll Need
- Large mixing bowl
- Medium mixing bowl
- Whisk
- Rubber spatula or wooden spoon
- Non-stick skillet or griddle
- Measuring cups and spoons
- Ladle or ¼ cup measure (for portioning batter)
Recipe at a Glance
| A | B |
|---|---|
| Prep Time | 5 minutes |
| Rest Time | 5 minutes |
| Cook Time | 20 minutes |
| Total Time | 30 minutes |
| Servings | 8 medium pancakes |
| Difficulty | Easy |
| Diet | Gluten Free |
| Best For | Breakfast, brunch, meal prep |
How To Make Them
Step 1: Mix the Dry Ingredients
Add the gluten free flour, sugar, baking powder, baking soda, and salt into a large mixing bowl.
Whisk them together until everything is evenly combined. No lumps from the baking powder hiding at the bottom — give it a good 15 seconds.
Set this bowl aside.
Step 2: Mix the Wet Ingredients
In a separate medium bowl, crack in your egg and lightly beat it first.
Then add the buttermilk, melted butter, and vanilla extract. Whisk until it all looks smooth and uniform — about 20 seconds. That’s it.
One thing to watch: Make sure your butter has cooled slightly before adding it. If it’s too hot, it can partially cook the egg. Just let it sit for a minute after melting.
Step 3: Combine Wet and Dry
Pour the wet mixture into the dry ingredients bowl.
Now stir — gently, with a rubber spatula or a fork — and stop the moment you can’t see dry flour anymore. That’s your cue. A lumpy batter is a good batter here.
Overmixing develops the starches in gluten free flour and makes pancakes dense and chewy. You’ve been warned. 😄
Step 4: Rest the Batter (Don’t Skip This)
Cover the bowl loosely and let it sit for 5 minutes at room temperature.
This sounds like a small thing. It’s not. Gluten free flour needs a little extra time to absorb the liquid properly. That 5-minute rest is what stands between flat pancakes and fluffy ones.
Use the time to heat your pan.
Step 5: Heat the Pan
Place your non-stick skillet or griddle over medium heat.
Add a small knob of butter and let it melt. You want to see it foam slightly — that means the pan is at the right temperature. If it browns instantly, your pan is too hot. Turn it down a notch.
Quick test: Flick a drop of water onto the surface. It should sizzle and disappear in 1 to 2 seconds. Perfect.
Step 6: Pour and Cook the First Side
Using a ladle or ¼ cup measure, pour the batter onto the pan.
Leave space between pancakes if you’re doing multiple — they spread a little.
Cook until you see bubbles forming across the entire surface and the edges look matte (not shiny or wet). This takes about 2 to 3 minutes. Don’t rush it.
Step 7: Flip Once
Slide your spatula completely under the pancake and flip in one smooth motion.
Do not press it down. Seriously, step away from the spatula. 😄 Pressing deflates everything you just built up.
Cook the second side for 1 to 2 minutes until golden brown. It cooks faster than the first side, so keep an eye on it.
Step 8: Serve Immediately
Transfer to a plate and serve right away.
If you’re cooking a big batch, keep finished pancakes warm in an oven set to 93°C / 200°F while you cook the rest. Place them directly on the oven rack or on a baking sheet — not stacked, or they’ll steam and go soft.
Top with whatever makes you happy and eat them while they’re hot. 🥞
Pro Tips
These are the things nobody tells you the first time, and they make a huge difference.
- Use a 1:1 gluten free flour blend, not almond or coconut flour. Those are completely different products with totally different results. A 1:1 blend is specifically designed to replace all-purpose flour — it’s the only one that gives you that fluffy pancake texture.
- Room temperature ingredients matter. Cold eggs and cold buttermilk straight from the fridge can cause the batter to seize up when you add warm melted butter. Give your wet ingredients 10 minutes at room temp first.
- Don’t press the pancakes down with your spatula. I know it’s tempting. But pressing them out deflates all the air you just worked to get in there. Keep your hands off. 😄
- The first pancake is always the tester. Every stove runs differently. Use the first pancake to figure out your heat setting, then adjust before you cook the rest.
- If your batter thickens as it sits, add a splash of milk. Gluten free flours absorb liquid faster than regular flour, so the batter can get thick quickly. Just thin it out and you’re good to go.
Substitutions and Variations
Dairy-free version: Swap buttermilk for oat milk or almond milk with 1 tbsp of apple cider vinegar stirred in (let it sit for 5 minutes to curdle). Replace butter with melted coconut oil.
Egg-free version: Use 1 flax egg (1 tbsp ground flaxseed + 3 tbsp water, rested for 5 minutes). Texture will be slightly denser but still very good.
Protein pancakes: Swap 2 tbsp of the flour for 2 tbsp of unflavored protein powder. Add an extra splash of milk to compensate.
Blueberry pancakes: Fold in ½ cup fresh or frozen blueberries right before cooking. Don’t stir too much or they’ll bleed into the batter.
Banana pancakes: Mash one ripe banana and mix it into the wet ingredients. Reduce sugar to ½ tsp since bananas are naturally sweet.
Make Ahead Tips
Yes, you can absolutely prep these in advance. 🙌
Dry mix: Combine all dry ingredients and store in an airtight jar or ziplock for up to 1 month. When you want pancakes, just add the wet ingredients.
Cooked pancakes: Stack cooled pancakes with parchment paper between them, seal in a bag, and freeze for up to 2 months. Reheat in the toaster straight from frozen — they come out surprisingly well.
Nutrition Breakdown (Per Pancake, Approx.)
| Nutrient | Amount |
|---|---|
| Calories | ~95 kcal |
| Carbohydrates | 14g |
| Protein | 2.5g |
| Fat | 3.5g |
| Sugar | 2g |
| Fiber | 0.5g |
Based on 8 medium pancakes from this recipe. Values vary by brand of flour used.
Meal Pairing Suggestions
These pancakes are breakfast perfection on their own, but if you want to make a real spread:
- Fresh berries + maple syrup — classic for a reason
- Nut butter + sliced banana — keeps you full for hours
- Crispy bacon + scrambled eggs — the savory contrast makes the pancakes taste even better
- Greek yogurt + honey — lighter option that still feels indulgent
Leftovers and Storage
In the fridge: Stack cooled pancakes with parchment between them in an airtight container. They keep for up to 3 days.
In the freezer: Up to 2 months. Reheat in the toaster (yes, the toaster) for the crispiest edges, or microwave for 45 seconds if you want them soft.
Don’t refrigerate batter. Once you mix wet and dry together, the leavening agents start working. Cook it all off and store the cooked pancakes instead.
FAQ
Can I use almond flour instead of a 1:1 blend? Almond flour pancakes are a completely different recipe — they need different ratios of eggs and leavening to work. For this specific recipe, stick with a 1:1 gluten free flour blend.
My pancakes aren’t fluffy. What went wrong? Two likely culprits: overmixed batter (stir less next time) or skipping the 5-minute batter rest. Both make a significant difference with gluten free flour.
Do these taste “gluten free”? With a good quality 1:1 blend, honestly no. The flavor and texture are incredibly close to classic pancakes. The main giveaway is if you use a lower quality flour, which can leave a slightly gritty aftertaste.
Can I make these without buttermilk? Absolutely. Stir 1 tbsp apple cider vinegar or white vinegar into 1 cup of your preferred milk. Let it sit for 5 minutes. That’s your buttermilk substitute.
How do I know the pan is the right temperature? Drop a tiny bit of water onto the surface. It should sizzle and evaporate within a second or two. If it evaporates instantly, your pan is too hot. If nothing happens, give it more time.
Can kids eat these? Yes — these are totally kid-friendly. If you’re making them for young kids, just skip the vanilla or reduce sugar slightly.
Wrapping Up
Gluten free doesn’t have to mean a consolation prize. These pancakes are the real deal — golden and fluffy with crispy edges, a soft center, and a flavor that actually makes you excited to eat breakfast.
Make them on a lazy Sunday. Make them for a birthday breakfast. Make them just because you can. 🥞
Once you try them, come back and drop a comment below. I’d love to know how they turned out for you, what toppings you went with, or any swaps you tried. And if you have questions, ask away — I’m happy to help.