
You made buffalo wings once and now every single person at the table won’t stop asking where you ordered them from.
That’s what happens with this recipe. 🔥
These aren’t the soggy, pale, barely-there wings you get from a mediocre sports bar. These are deeply golden, crazy crispy, tossed in a glossy buffalo sauce that’s got the perfect balance of heat and butter.
And here’s the thing most people don’t know: you don’t need a deep fryer. Your oven does all the heavy lifting.
Recipe at a Glance
| Detail | Info |
|---|---|
| Prep Time | 15 minutes |
| Cook Time | 45 minutes |
| Total Time | 1 hour |
| Servings | 4 people |
| Difficulty | Easy |
| Best For | Game day, parties, weeknight dinners |
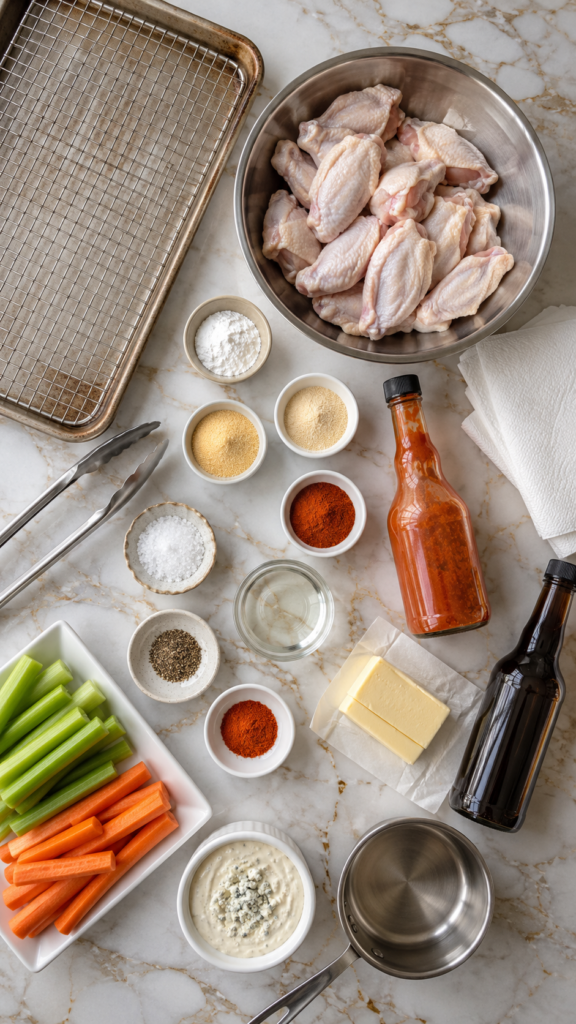
What You’ll Need
For the Wings
- 2 lbs (about 900g) chicken wings, split into drumettes and flats
- 1 tbsp baking powder (not baking soda — this matters)
- 1 tsp garlic powder
- 1 tsp onion powder
- 1 tsp smoked paprika
- 1 tsp kosher salt
- ½ tsp black pepper
For the Buffalo Sauce
- ½ cup (120ml) Frank’s RedHot Original Cayenne Sauce (the classic choice)
- 4 tbsp (57g) unsalted butter
- 1 tbsp white vinegar
- 1 tsp Worcestershire sauce
- ½ tsp garlic powder
- Pinch of cayenne pepper (optional, for extra heat)
For Serving
- Blue cheese or ranch dressing
- Celery sticks
- Carrot sticks
Tools You’ll Need
- Large baking sheet (rimmed)
- Wire rack (fits inside your baking sheet)
- Large mixing bowl
- Small saucepan
- Tongs
- Paper towels
- Oven
Pro Tips
These are the things that actually make the difference between okay wings and obsession-level wings.
1. Baking powder is your secret weapon. It sounds weird, but coating your wings in baking powder (mixed with the spices) raises the pH of the skin and pulls moisture out. The result? Skin that crisps like it was deep fried. This single step is what separates average oven wings from incredible ones.
2. Dry your wings really, really well. Before seasoning, pat every single wing dry with paper towels. Any leftover moisture = steam = soft skin. You want them bone dry before anything else touches them.
3. The wire rack is non-negotiable. If you bake your wings directly on a baking sheet, the bottom sits in its own fat and goes soft. A wire rack lets hot air circulate completely around every wing. You can skip a lot of things in cooking. Not this.
4. Don’t sauce them until the last few minutes. Toss your wings in sauce right at the end, not before. Saucing too early can steam the skin and undo all that crunch you worked for.
5. Frank’s RedHot is the original. Buffalo sauce was invented in Buffalo, New York in 1964 at the Anchor Bar, and Frank’s RedHot was the hot sauce used. It’s tangy, vinegary, and perfectly balanced. Swapping it out will change the flavor profile significantly.
How to Make Buffalo Wings
Step 1: Prep the wings. Preheat your oven to 425°F (220°C). Line your baking sheet with foil, place a wire rack on top, and lightly spray it with cooking spray.
Pat the wings completely dry with paper towels. Do not skip this.
Step 2: Season the wings. In a large bowl, mix together the baking powder, garlic powder, onion powder, smoked paprika, salt, and pepper.
Add the wings and toss until every single one is coated. Make sure the coating is even.
Step 3: Arrange and bake. Place the wings in a single layer on the wire rack. Don’t crowd them.
Bake for 25 minutes, then flip each wing and bake for another 20 minutes, until the skin is deep golden and looks genuinely crispy.
Step 4: Make the buffalo sauce. While the wings are in their final stretch, melt the butter in a small saucepan over medium-low heat. Add the Frank’s RedHot, white vinegar, Worcestershire sauce, garlic powder, and cayenne (if using).
Stir everything together and keep warm on low heat. Don’t let it boil.
Step 5: Toss and serve. Pull the wings out of the oven. Transfer them to a large clean bowl.
Pour the buffalo sauce over and toss until every wing is completely coated and glossy.
Serve immediately with blue cheese or ranch, celery, and carrots.
Substitutions & Variations
Make them milder: Use half hot sauce and half butter. The more butter, the milder and richer the sauce.
Make them hotter: Add more cayenne or use a hotter base sauce like Tabasco alongside the Frank’s.
Honey buffalo: Add 2 tbsp of honey to the sauce. Slightly sweet, still spicy. Great if you’re making these for a crowd with mixed heat preferences.
Air fryer version: Cook at 400°F for 20-25 minutes, flipping halfway. Same baking powder trick applies.
Boneless wings: Use chicken breast cut into 1-inch chunks. Coat in flour before the baking powder mix and bake for slightly less time (around 18-20 minutes total).
Dairy-free: Swap butter for vegan butter or coconut oil. The sauce won’t be quite as rich, but it still works well.
Make-Ahead Tips
You can actually do a lot of the work in advance here.
- Season the wings up to 24 hours ahead. After coating in the baking powder mix, place them uncovered on a rack in the fridge overnight. This dries them out even more and makes the skin even crispier. It’s a restaurant trick and it’s 100% worth it.
- Make the sauce ahead. Buffalo sauce keeps in the fridge for up to 2 weeks. Reheat gently on the stove before tossing.
Nutrition Information (Per Serving)
| Nutrient | Amount |
|---|---|
| Calories | ~420 kcal |
| Protein | 32g |
| Fat | 30g |
| Carbohydrates | 3g |
| Sodium | ~980mg |
Values are estimates and can vary based on wing size and exact ingredients used.
Meal Pairing Ideas
Buffalo wings are the kind of dish that makes everything around it better. Here’s what works well alongside them:
- Classic coleslaw – Cool and creamy balances the heat
- Cornbread – Fluffy and slightly sweet, cuts through the spice
- French fries or sweet potato fries – Because obviously
- Mac and cheese – A crowd-pleaser that pairs with the heat beautifully
- Pickle chips – That vinegary crunch hits different next to buffalo sauce
Leftovers & Storage
Got wings left over? Here’s what to do.
Store: Let them cool completely, then keep them in an airtight container in the fridge for up to 3 days.
Reheat: The oven is your best friend here. Spread them on a wire rack and bake at 375°F for 10-12 minutes until they crisp back up. The microwave will make them soft.
Freeze: You can freeze the baked (unsauced) wings for up to 2 months. Reheat from frozen at 400°F for 15-20 minutes, then toss in fresh sauce.
FAQ
Why are my oven wings not crispy?
Almost always one of three things: the wings weren’t dried properly, you skipped the wire rack, or the oven wasn’t hot enough. All three are fixable.
Can I use whole wings instead of split?
You can, but they take longer to cook and are harder to eat. Splitting them into drumettes and flats gives you more surface area for sauce and crunch.
Is Frank’s RedHot spicy?
It’s medium heat. Most people who don’t love super spicy food still enjoy it. If you’re sensitive to heat, start with half the amount and taste as you go.
Can I make these gluten-free?
They already are. Baking powder and hot sauce are both naturally gluten-free. Just double-check your Worcestershire sauce label, as some brands contain malt vinegar.
How do I know when the wings are done?
The internal temperature should reach 165°F (74°C). The skin should look deeply golden and feel firm when you press it with tongs.
What’s the difference between drumettes and flats?
Drumettes are the small drumstick-shaped pieces. Flats are the two-boned, flatter pieces. Most bags of split wings include both. Some people have a strong preference one way or the other (flat people are dedicated 😄).
Wrapping Up
Buffalo wings sound like a restaurant-only thing. And then you make them at home and realize they were never that complicated to begin with.
The crispy skin, the glossy sauce, the way they disappear from the plate faster than you can put them down… it never gets old.
Give this recipe a try and let me know how it goes. Drop a comment below with how they turned out, what heat level you went with, or any questions you have along the way. I read every single one. 👇