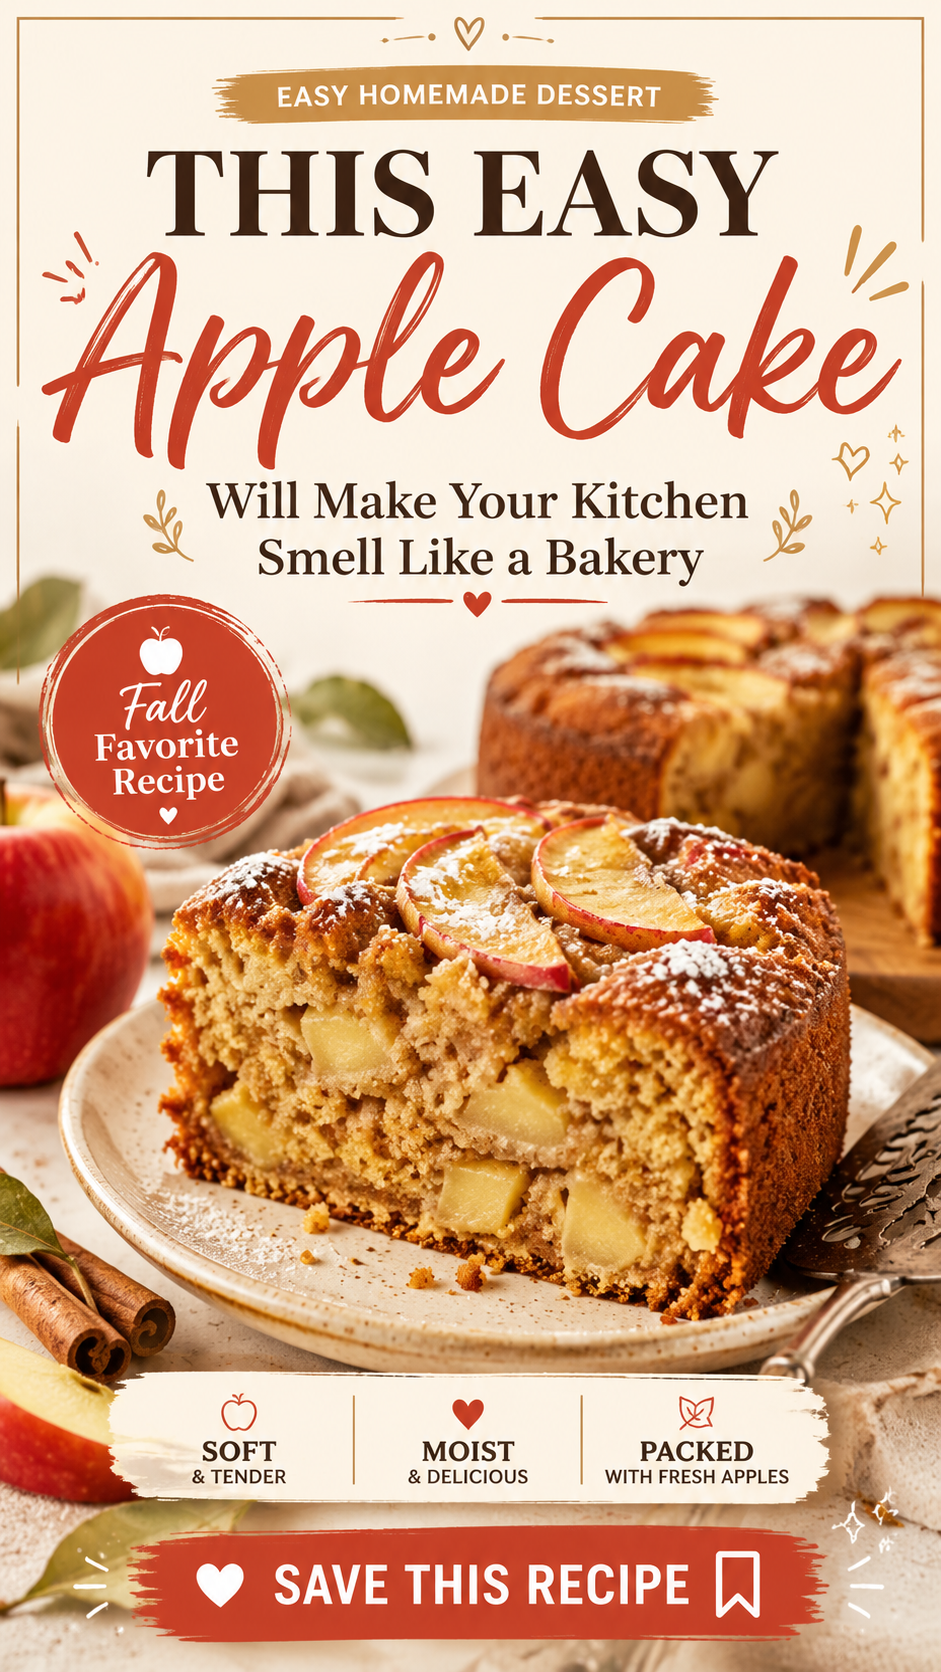
You pull it out of the oven, set it on the counter, and suddenly everyone in the house materializes from nowhere.
That’s the power of apple cake.
And the good news? This one is genuinely simple. No stand mixer. No fancy techniques. Just a soft, spiced, apple-packed cake that comes together in about an hour and tastes like it took way longer.
Keep reading, because the Pro Tips section alone will change how you bake this forever.
Recipe at a Glance
| Detail | Info |
|---|---|
| Prep Time | 20 minutes |
| Bake Time | 45–50 minutes |
| Total Time | ~1 hour 15 minutes |
| Servings | 10–12 slices |
| Difficulty | Easy |
| Oven Temp | 350°F (175°C) |
Why This Apple Cake Actually Works
A lot of apple cake recipes turn out dry. Or weirdly dense. Or the apples just… disappear into the batter.
This one doesn’t do any of that.
The secret is in the ratio of apples to batter. There are a lot of apples in this recipe, which keeps every single bite moist and flavorful. Plus, you’re using oil instead of butter, which sounds counterintuitive, but it’s what gives you that ultra-soft crumb that stays tender even on day two.
Fun fact: apple cake has been traced back to medieval Europe, where spiced apple desserts were considered a luxury. Today it’s a Tuesday night baking project. We’ve come a long way. 🍎
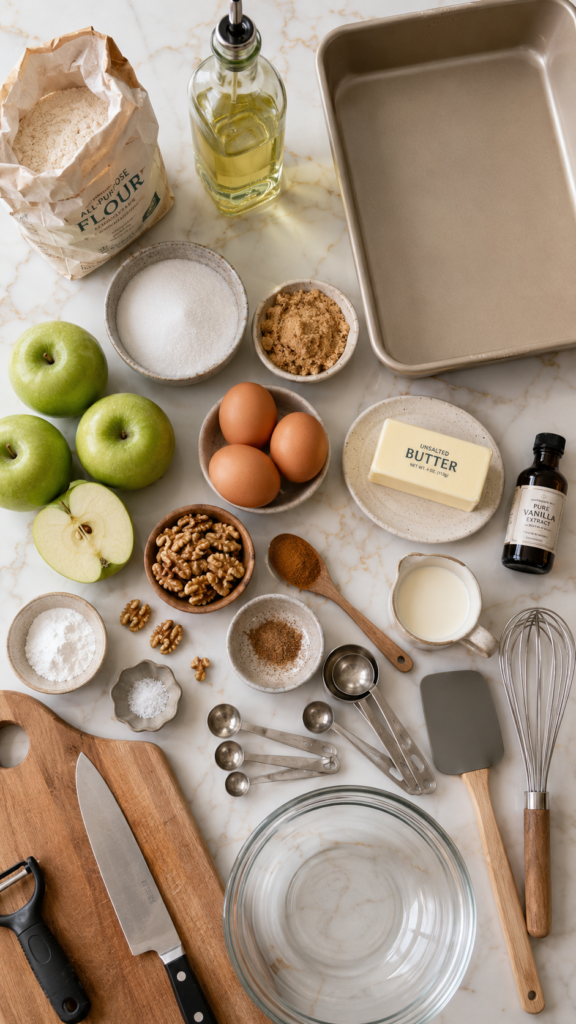
What You’ll Need
For the Cake:
- 3 cups all-purpose flour
- 2 cups granulated white sugar
- 1 cup neutral oil (vegetable or canola)
- 3 large eggs
- 3 medium apples (Granny Smith or Honeycrisp), peeled, cored, and diced into small chunks
- 1 teaspoon vanilla extract
- 1 teaspoon baking soda
- 1 teaspoon ground cinnamon
- ½ teaspoon ground nutmeg
- ½ teaspoon salt
- 1 cup chopped walnuts or pecans (optional, but really good)
For the Optional Brown Sugar Glaze:
- ½ cup packed brown sugar
- ¼ cup unsalted butter
- ¼ cup heavy cream
- Pinch of salt
Tools You’ll Need
- 9×13 inch baking pan (or a 10-inch bundt pan)
- Two large mixing bowls
- Hand whisk
- Rubber spatula
- Measuring cups and spoons
- Vegetable peeler and sharp knife
- Cutting board
- Toothpick or cake tester
- Wire cooling rack
Pro Tips
These are the things I wish someone had told me before I made apple cake the first three times.
- Cut your apples small. Large apple chunks sink and create weird wet pockets. Aim for pieces about the size of a blueberry. Seriously, go smaller than you think.
- Don’t overmix the batter. Once the flour goes in, mix only until combined. Overmixing activates the gluten and turns your soft cake into something more like bread. Stir it gently and walk away.
- Granny Smith apples are your best friend here. Their tartness balances the sweetness of the batter. If you use a sweet apple like Fuji on its own, the whole thing can taste a little one-note. Mix varieties if you want to get fancy.
- Test for doneness at 45 minutes, not 50. Every oven runs differently. A toothpick inserted in the center should come out clean or with just a crumb or two. Pull it out too late and you lose all that beautiful moisture.
- Let it cool before glazing. I know it’s hard to wait. But pouring the glaze on a hot cake means it just slides right off. Give it at least 20 minutes.
Instructions
Step 1: Prep your pan and oven.
Preheat your oven to 350°F (175°C). Grease your baking pan well with butter or cooking spray, then dust lightly with flour. Shake out the excess.
Step 2: Mix the wet ingredients.
In a large bowl, whisk together the oil, eggs, sugar, and vanilla until smooth and slightly thickened. About 2 minutes of whisking by hand.
Step 3: Add the dry ingredients.
Add the flour, baking soda, cinnamon, nutmeg, and salt directly into the wet mixture. Fold everything together with a rubber spatula until just combined. The batter will be thick. That’s normal.
Step 4: Fold in the apples (and nuts).
Add your diced apples and fold them into the batter. The apples will release a little moisture as you stir, which actually loosens the batter slightly. If using nuts, add them here too.
Step 5: Bake.
Pour the batter into your prepared pan and spread it evenly. Bake for 45–50 minutes, checking with a toothpick at the 45-minute mark.
Step 6: Make the glaze (optional but highly recommended).
While the cake cools, melt the butter in a small saucepan over medium heat. Add the brown sugar, heavy cream, and pinch of salt. Stir constantly for about 3 minutes until the sugar dissolves and the mixture thickens slightly. Remove from heat.
Step 7: Glaze and serve.
Once the cake has cooled for 20 minutes, pour the warm glaze over the top. Slice and serve. Try not to eat three pieces immediately.
Substitutions and Variations
Not everyone has the same pantry. Here’s how to make this work for you:
| Swap | For |
|---|---|
| All-purpose flour | Whole wheat flour (use ¾ ratio — it’s denser) |
| Neutral oil | Melted coconut oil for a subtle coconut note |
| Eggs | Flax eggs (1 tbsp ground flax + 3 tbsp water per egg) for vegan version |
| Granulated sugar | Coconut sugar for a deeper, caramel-like flavor |
| Walnuts | Pecans, raisins, or skip entirely |
| Heavy cream in glaze | Full-fat coconut cream for dairy-free version |
| Cinnamon + nutmeg | Add ¼ tsp cardamom for a warmer, more complex spice profile |
Make-Ahead Tips
This cake actually gets better the next day.
The apples continue releasing their juices into the crumb overnight, which makes everything more moist and flavorful. So if you’re making this for a gathering, bake it the day before and store it covered at room temperature.
The glaze can also be made ahead and gently reheated on the stovetop before pouring.
Nutritional Breakdown (Per Slice, Without Glaze)
Approximate values based on 12 servings.
| Nutrient | Amount |
|---|---|
| Calories | ~320 kcal |
| Carbohydrates | 46g |
| Fat | 14g |
| Protein | 4g |
| Sugar | 27g |
| Fiber | 1.5g |
Adding the brown sugar glaze adds approximately 80–100 kcal per serving.
Meal Pairing Suggestions
- A scoop of vanilla bean ice cream on the side (warm cake + cold ice cream is a combination that should not be overlooked)
- Serve with hot coffee or a spiced chai latte in the afternoon
- For brunch: a small slice alongside scrambled eggs and fresh fruit
- Pairs really well with a sharp cheddar if you’re into sweet-savory combinations (very much a personal preference, but don’t knock it until you try it)
Leftovers and Storage
Room temperature: Store covered with plastic wrap or in an airtight container for up to 3 days.
Refrigerator: Keeps well for up to 5 days. Bring to room temperature before serving or microwave a slice for 20 seconds.
Freezer: Wrap individual slices in plastic wrap, then place in a zip-lock bag. Freeze for up to 2 months. Thaw overnight at room temperature.
Pro storage move: If the glaze is already on the cake, place parchment paper between slices before stacking to prevent them from sticking together.
FAQ
Can I use applesauce instead of fresh apples?
You can, but the texture and flavor will be different. Applesauce blends into the batter rather than giving you actual bites of apple. It works in a pinch, but fresh apples are worth it.
Can I make this in a bundt pan?
Absolutely. A 10-inch bundt pan works great. Increase baking time to 55–60 minutes and check with a toothpick. The bundt presentation is genuinely gorgeous with the glaze dripping down the sides.
My batter looks really thick. Did I do something wrong?
Nope. This is a thick batter because of the high ratio of apples and flour. Once the apples release moisture in the oven, it all comes together. Trust the process.
Can I make this gluten-free?
Yes. Use a 1:1 gluten-free flour blend (like Bob’s Red Mill or King Arthur). The texture may be slightly more dense, but the flavor stays intact.
What’s the difference between using oil vs. butter?
Butter gives you a slightly richer flavor, but oil produces a more moist crumb that stays soft longer. Since this cake is meant to last a few days, oil is the move.
Can I double the recipe?
Yes! Use two 9×13 pans or one large sheet pan. Don’t try to put double the batter into one pan — it won’t bake evenly and the center will stay raw.
Do I have to peel the apples?
No, but the skin can create a slightly tougher texture in some bites. Most bakers peel them for a smoother result. If you’re in a rush, skip the peeling.
Wrapping Up
This apple cake is exactly the kind of recipe that earns a permanent spot in your rotation.
It’s not fussy. It doesn’t require any equipment you don’t already own. And it produces something genuinely delicious that people will ask you to make again.
The spice, the tender crumb, the way the whole kitchen smells when it’s baking… some things are just worth making at home.
Give it a try and drop a comment below. I’d love to hear how it turned out for you, which apple variety you went with, and whether you added the glaze (the right answer is yes).