You’ve had strawberry ice cream before. But not this strawberry ice cream.
Most store-bought versions taste like strawberry-flavored sugar. This one tastes like someone handed you a fresh-picked strawberry on a hot day — cold, creamy, and almost too good to eat slowly.
And the kicker? You don’t need an ice cream maker. 🍓
Recipe at a Glance
| Detail | Info |
|---|---|
| Prep Time | 20 minutes |
| Freeze Time | 6+ hours (or overnight) |
| Total Time | ~6.5 hours |
| Servings | 6–8 scoops |
| Difficulty | Easy |
| Equipment Needed | Blender or food processor, hand mixer or stand mixer, loaf pan |
Why This Recipe Works
Real strawberries. Real cream. A technique so simple you’ll wonder why you ever bought the store stuff.
The secret is macerating the strawberries first — basically letting them sit with a little sugar so they release all that gorgeous juice. That juice goes straight into your cream mixture, and the result is a flavor that hits completely differently from anything in a carton.
It’s also no-churn, so you don’t need any fancy equipment. A hand mixer and a loaf pan are all you really need.
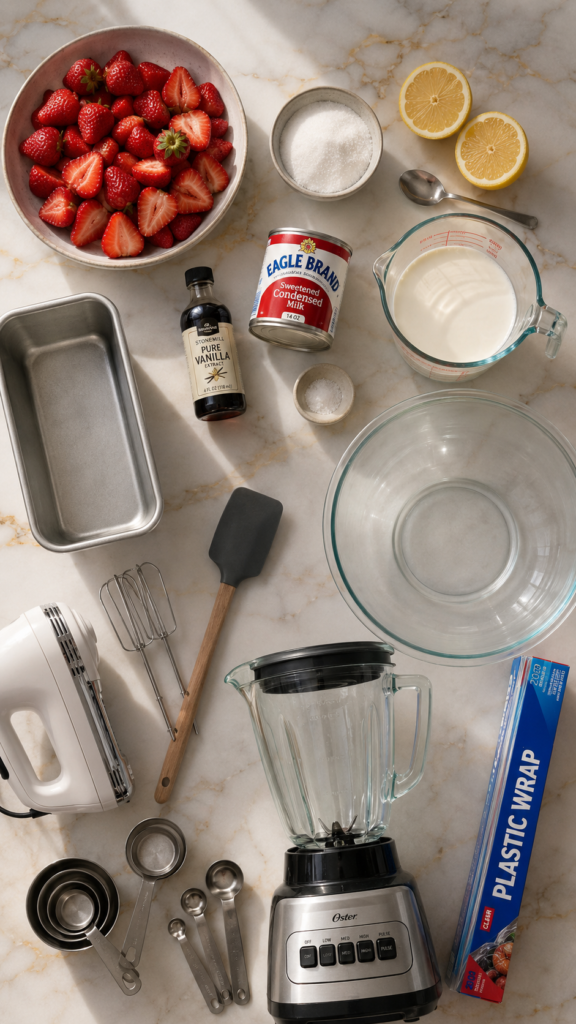
What You’ll Need
For the Strawberries
- 2 cups fresh strawberries, hulled and chopped
- 3 tablespoons granulated white sugar
- 1 teaspoon fresh lemon juice
For the Ice Cream Base
- 2 cups heavy whipping cream (cold)
- 1 cup sweetened condensed milk (one standard 14 oz can)
- 1 teaspoon pure vanilla extract
- Pinch of salt
Tools You’ll Need
- Large mixing bowl
- Hand mixer or stand mixer
- Medium bowl (for the strawberries)
- Blender or food processor
- 9×5 inch loaf pan
- Plastic wrap or parchment paper
- Rubber spatula
- Measuring cups and spoons
Pro Tips
These are the things I wish someone had told me the first time I made this:
- Use the ripest strawberries you can find. This is non-negotiable. Strawberries that are slightly soft and deeply red will give you a flavor that’s worlds apart from pale, underripe ones. Farmer’s market strawberries in peak season? Even better.
- Chill your mixing bowl before whipping the cream. Stick it in the freezer for 15 minutes beforehand. Cold bowl = faster whip = better volume. This matters more than people realize.
- Don’t skip the maceration step. It feels unnecessary, but those 20 minutes of the strawberries sitting in sugar transforms them completely. You’ll get this intensely flavored syrup that runs through every single bite.
- Fold gently. When you’re combining the whipped cream with the condensed milk mixture, fold slowly. Aggressive stirring knocks out all the air you just worked to get in, and that air is what makes the texture light and scoopable instead of icy.
- Cover the top directly. Press your plastic wrap right onto the surface of the ice cream before it goes into the freezer. This prevents ice crystals from forming on top.
Substitutions and Variations
Frozen strawberries: Yes, they work. Thaw them completely and drain the excess liquid before macerating. Fresh is better, but frozen gets the job done.
Dairy-free version: Swap the heavy cream for full-fat coconut cream (refrigerated overnight so it’s thick) and use sweetened condensed coconut milk. The flavor profile shifts slightly but it’s still genuinely good.
Extra strawberry flavor: Blend half the macerated strawberries completely smooth and fold in the other half as chunks. You’ll get both that bright jam-like intensity AND little pockets of real fruit in every scoop.
Chocolate swirl: Drizzle melted dark chocolate into the mixture before freezing and swirl with a knife. Strawberry and dark chocolate is underrated.
Strawberry cheesecake version: Add 4 oz of softened cream cheese to the condensed milk mixture and beat until smooth before folding in the whipped cream. It adds this slightly tangy, rich layer that’s completely addictive.
Make-Ahead Tips
This one is actually built for making ahead.
The ice cream needs at least 6 hours to freeze properly, so overnight is genuinely ideal. If you’re making it for a gathering, you can make it up to a week in advance with no drop in quality — just keep it tightly covered.
If you’re working with a packed schedule, macerate the strawberries the night before and store them (with all their juices) in the fridge. Then the actual assembly takes under 20 minutes the next day.
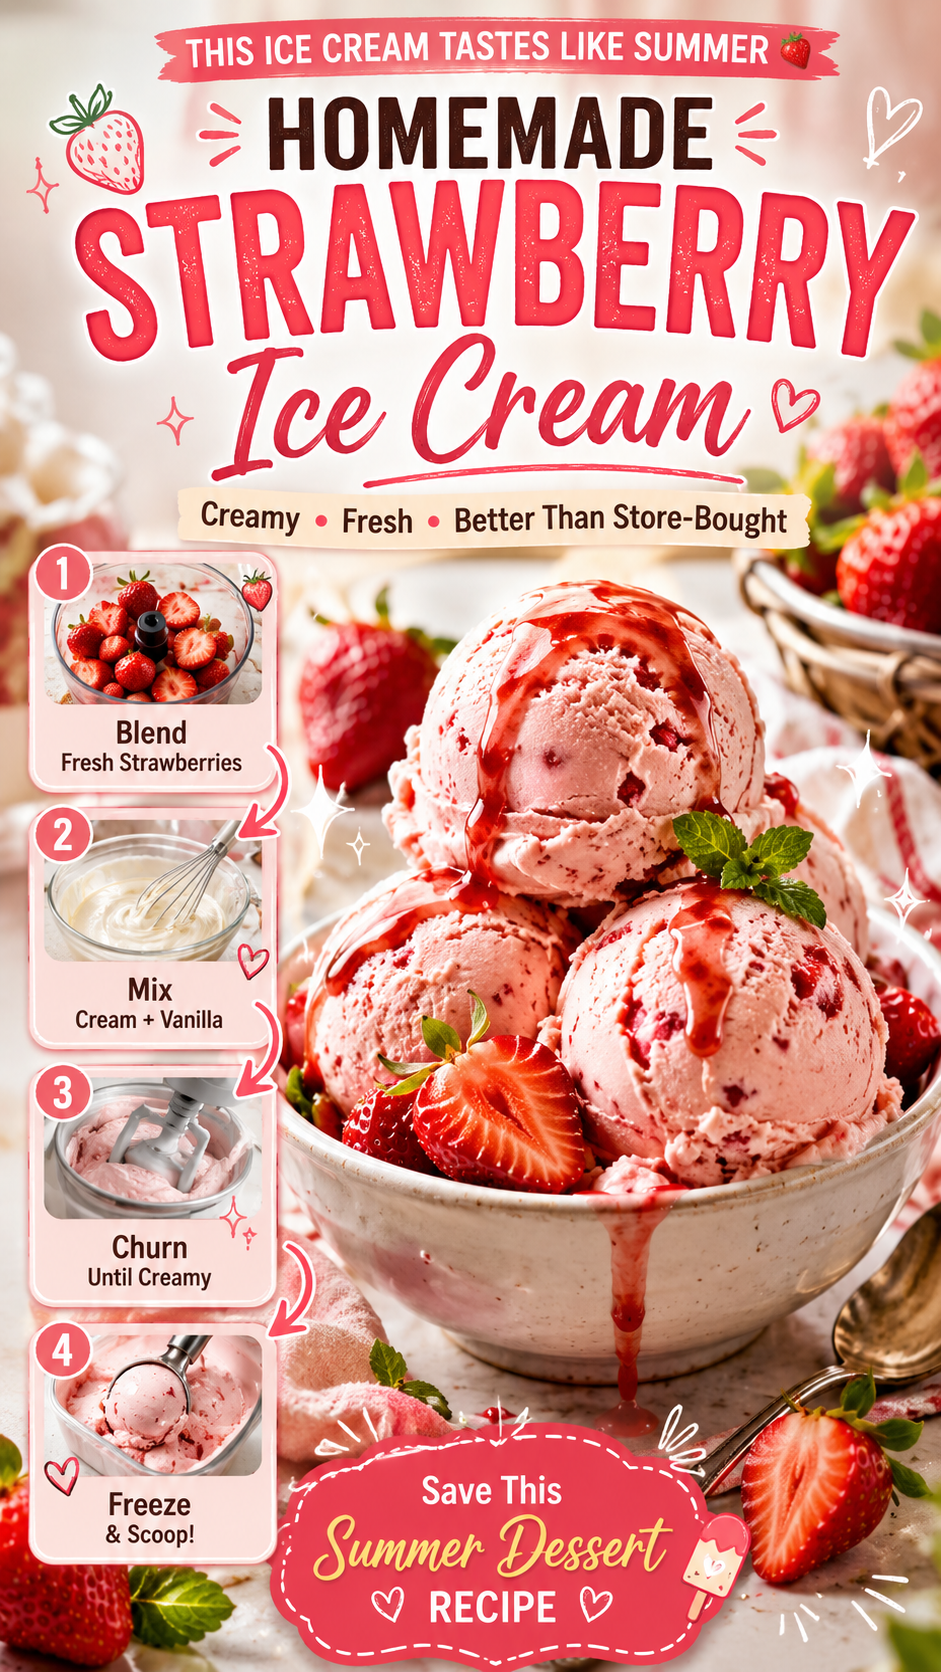
Step-by-Step Instructions
Step 1: Macerate the Strawberries
Add your chopped strawberries to a medium bowl with the 3 tablespoons of sugar and the lemon juice. Stir to combine, then let them sit for 20 minutes at room temperature. You’ll see juice start to pool at the bottom — that’s exactly what you want.
Step 2: Blend Half, Save Half
Once the strawberries have macerated, scoop out roughly half of them (with some of their juice) and blend until completely smooth. Leave the other half chunky. Set both aside.
Step 3: Whip the Cream
Pour your cold heavy cream into a chilled mixing bowl. Beat on medium-high speed until stiff peaks form — meaning when you lift the beaters, the cream holds its shape and doesn’t flop over. This takes about 3–4 minutes. Don’t walk away, it goes fast.
Step 4: Mix the Base
In a separate bowl, stir together the sweetened condensed milk, vanilla extract, pinch of salt, and the blended strawberry puree. Mix until fully combined.
Step 5: Fold Everything Together
Add the condensed milk mixture to your whipped cream. Using a rubber spatula, fold gently until just combined — slow, sweeping motions from the bottom of the bowl up. Then fold in the chunky strawberry pieces.
Step 6: Transfer and Freeze
Pour the mixture into your loaf pan and smooth the top. Press plastic wrap directly onto the surface. Freeze for a minimum of 6 hours. Overnight is better.
Step 7: Scoop and Serve
Pull it out of the freezer 5 minutes before serving to let it soften slightly. Then scoop, serve, and watch it disappear faster than you expected.
Nutritional Breakdown (Per Serving, approx. 1 scoop)
| Nutrient | Amount |
|---|---|
| Calories | ~280 kcal |
| Total Fat | 18g |
| Saturated Fat | 11g |
| Carbohydrates | 27g |
| Sugar | 25g |
| Protein | 4g |
| Fiber | 0.5g |
| Sodium | 65mg |
These are estimates and will vary based on exact portion size and specific brands used.
Meal Pairing Suggestions
- Serve alongside warm brownies or chocolate lava cake
- Pair with a slice of pound cake and fresh mint
- Use as the base for an ice cream float with sparkling lemonade
- Scoop into cones with crushed graham crackers for a strawberry cheesecake vibe
- Layer in a glass with fresh berries and granola for a dessert parfait
Leftovers and Storage
In the freezer: Store tightly covered (plastic wrap pressed to the surface, then a layer of foil over the top of the pan) for up to 2 weeks. After that, ice crystals start to take over.
Re-softening: If it gets rock hard after a few days, let it sit on the counter for 8–10 minutes before scooping. Running your ice cream scoop under hot water for a few seconds also helps.
Refreezing: If it starts to melt, you can refreeze it, but the texture won’t be quite as good. Best to just… eat it all the first time. 😄
FAQ
Can I use an ice cream maker instead?
Absolutely. After you fold everything together, churn it in your machine according to its instructions, then transfer to a container and freeze until firm. The texture will be slightly smoother.
My ice cream turned out icy, not creamy — what happened?
Most likely the whipped cream wasn’t whipped to full stiff peaks, or it got folded too aggressively and lost its air. Make sure your cream and bowl are cold before you start, and fold (don’t stir) when combining.
Can I use frozen strawberries?
Yes. Thaw them completely, drain well, then proceed with the maceration step. The flavor will be slightly less bright than fresh, but it still works well.
How long does it actually need to freeze?
At minimum 6 hours. Overnight is what I’d recommend if you have the time — the texture is noticeably better after a full freeze.
Can I reduce the sugar?
You can cut the sugar in the maceration step by half. The condensed milk already adds a lot of sweetness, so the maceration sugar is mainly there to draw out the juices. If your strawberries are already very ripe and sweet, you could even skip it entirely.
Is there a way to make this less rich?
You can replace half the heavy cream with whole milk, but it will affect the creaminess and the final texture. Heavy cream is what gives no-churn ice cream its scoopable, smooth consistency.
Can I add other fruits?
Totally. Blueberries, raspberries, or peaches work beautifully in the same formula. Keep the total fruit amount at about 2 cups and follow the same steps.
Wrapping Up
Homemade ice cream sounds like a big project. But this recipe? It’s genuinely not.
20 minutes of active work, a few hours in the freezer, and you have something that tastes like it came from an actual ice cream shop — except it’s yours, you made it, and you know exactly what went into it.
Give it a try this week. And when you do, drop a comment below and tell me how it went. Did you go classic or did you try one of the variations? Any questions along the way — I’m happy to help. 🍦