You know what nobody talks about at a 4th of July party?
The potato salad. The paper plates. The lawn games.
You know what people do talk about? The dessert that made them stop mid-conversation and say, “Wait. Who made these?”
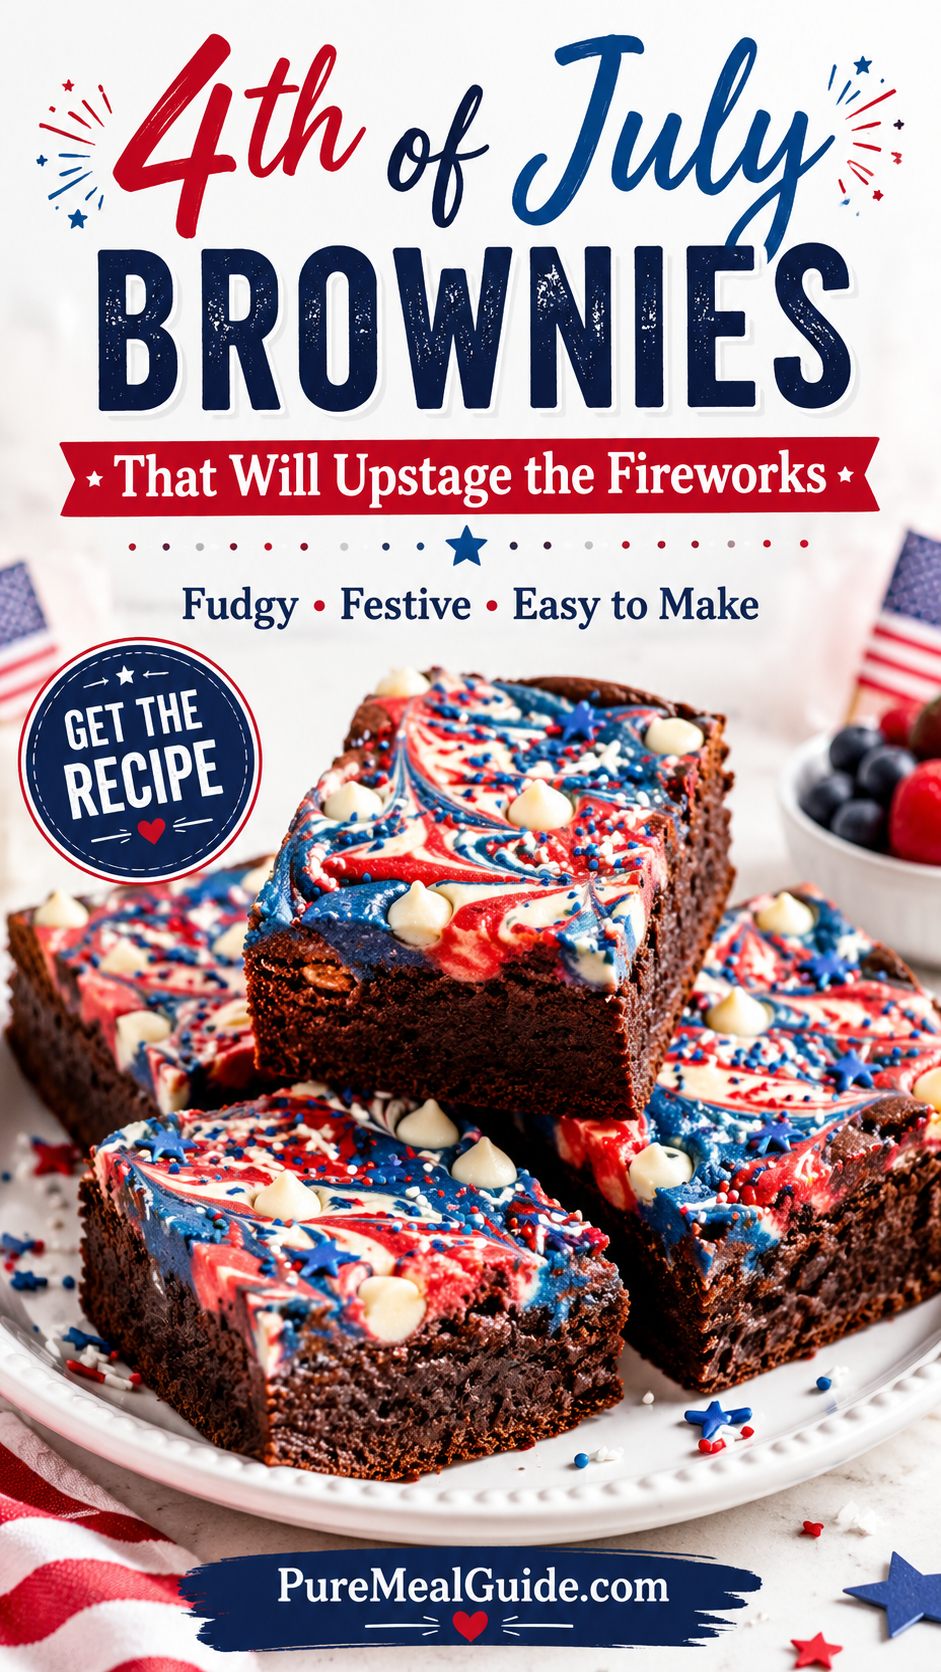
That’s what these red, white, and blue brownies do. 🎆
They’re fudgy, rich, patriotic-looking, and honestly a little dramatic in the best way. Swirls of red and blue on top of a deeply chocolatey base, finished with white chocolate chips and a crackly top.
One pan. One wow moment. Zero regrets.
And here’s the thing nobody tells you: most festive holiday desserts look incredible in photos and taste… fine. These ones actually taste incredible. The secret is in the brownie base, and we’ll get into that.
Keep reading, because the pro tip section alone is going to save you from a very common (very sad) brownie mistake.
Recipe at a Glance
| Detail | Info |
|---|---|
| Prep Time | 20 minutes |
| Bake Time | 28-32 minutes |
| Total Time | ~1 hour (with cooling) |
| Servings | 16 brownies |
| Difficulty | Easy |
| Occasion | 4th of July, Memorial Day, Labor Day |
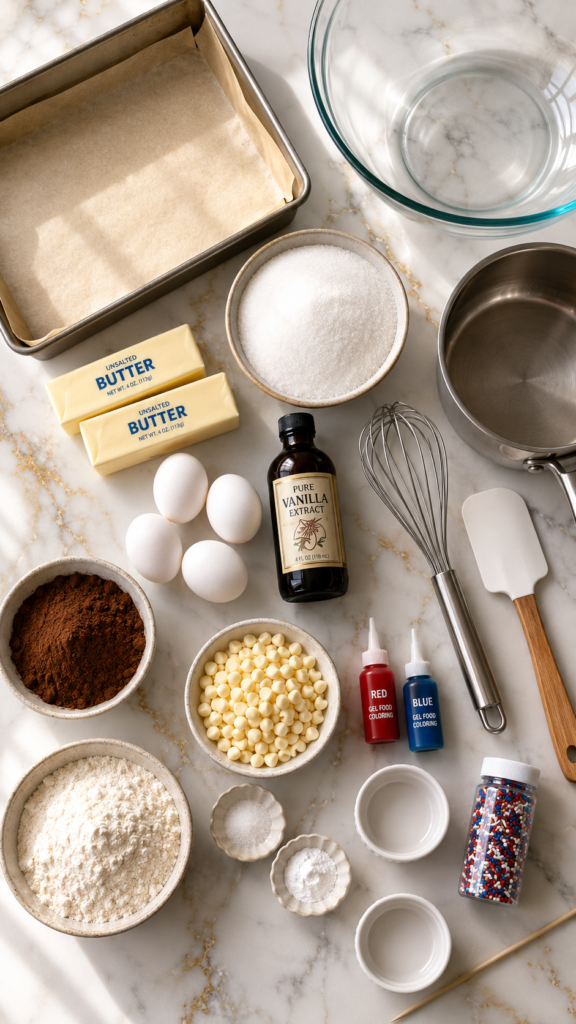
What You’ll Need
For the Brownie Base
- 1 cup (2 sticks / 226g) unsalted butter
- 2 cups (400g) granulated white sugar
- 4 large eggs, room temperature
- 2 tsp pure vanilla extract
- 1 cup (85g) unsweetened cocoa powder
- 1 cup (125g) all-purpose flour
- 1/2 tsp salt
- 1/2 tsp baking powder
For the Festive Swirl Top
- 1/2 cup white chocolate chips (plus extra for topping)
- Red gel food coloring
- Blue gel food coloring
- 1/4 cup red, white, and blue sprinkles (optional but highly recommended)
Tools You’ll Need
- 9×13 inch metal baking pan
- Parchment paper
- Large mixing bowl
- Medium saucepan (for melting butter)
- Whisk and rubber spatula
- 2 small bowls (for coloring the batter)
- Toothpick or skewer (for swirling)
- Wire cooling rack
Pro Tips
These are the things most recipes skip over. Don’t skip them.
- Use gel food coloring, not liquid. Liquid coloring dilutes your batter and throws off the texture. Gel gives you bold, saturated color without messing with the chemistry of the brownie.
- Room temperature eggs matter more than you think. Cold eggs can cause the melted butter to seize up and create a greasy, uneven batter. Pull your eggs out 30 minutes before you start.
- The toothpick test is different for brownies than for cakes. You’re not looking for a clean toothpick. You want a few moist crumbs clinging to it. If it comes out completely clean, you’ve gone too far. 😬
- Don’t swap the metal pan for a glass one. Glass conducts heat differently and you’ll end up with overdone edges and an underdone center. Metal is the move.
- Chill before cutting for cleaner slices. Once cooled to room temperature, pop the pan in the fridge for 30 minutes. Then lift using the parchment overhang, and cut with a sharp knife wiped clean between each slice.
Substitutions and Variations
Life happens. Here’s how to adapt:
No unsalted butter? Use salted butter and skip the added 1/2 tsp salt.
Dairy-free? Swap butter for coconut oil (same quantity) and use dairy-free white chocolate chips.
Gluten-free? A 1:1 gluten-free flour blend works well here. Make sure it includes xanthan gum.
Want more red, white, and blue? Add a layer of cream cheese frosting after cooling, then top with fresh strawberries, blueberries, and a drizzle of white chocolate.
No white chocolate chips? Use vanilla chips, or skip them and go heavy on the sprinkles instead.
How to Make 4th of July Brownies
- Preheat your oven to 350°F (175°C). Line your 9×13 pan with parchment paper, leaving some overhang on the sides. This is your lifeline when it comes to lifting the brownies out cleanly later.
- Melt the butter in a medium saucepan over low heat. Once melted, remove from heat immediately. You want it melted, not bubbling.
- Whisk in the sugar until fully combined. The mixture will look grainy. That’s normal.
- Add the eggs one at a time, whisking well after each. Then add the vanilla. At this point your batter should look glossy and smooth.
- Sift in the cocoa powder, flour, salt, and baking powder. Fold gently with a rubber spatula until just combined. Do not overmix. Seriously, stop when you stop seeing dry streaks.
- Pour about 3/4 of the batter into your prepared pan and spread it evenly.
- Divide the remaining batter into two small bowls. Add red gel food coloring to one, blue to the other. Mix until the color is vibrant and even.
- Drop spoonfuls of the red and blue batter randomly across the top of the pan. Don’t try to make it perfect. The randomness is the point.
- Use a toothpick or skewer to swirl the colors through the surface batter. Figure-eights work great. Again, don’t overthink it.
- Scatter white chocolate chips and sprinkles across the top.
- Bake for 28-32 minutes, or until a toothpick inserted in the center comes out with just a few moist crumbs (not wet batter). This is the most critical step. Pull them early if anything.
- Let them cool completely in the pan on a wire rack before cutting. We mean it. Cutting warm brownies is a one-way ticket to crumble city.
Make-Ahead Tips
Hosting is chaotic, so plan ahead.
You can bake these brownies up to 2 days in advance. Store them uncut in the pan (covered tightly with plastic wrap) at room temperature.
Cut them the morning of your party for the freshest edges.
If you’re making the cream cheese frosting variation, frost them the morning of and refrigerate until serving.
Nutrition Information (Per Brownie)
Based on 16 servings, without frosting.
| Nutrient | Amount |
|---|---|
| Calories | ~285 kcal |
| Total Fat | 14g |
| Saturated Fat | 8g |
| Carbohydrates | 39g |
| Sugar | 29g |
| Protein | 4g |
Note: Nutritional values are estimates and can vary based on specific brands used.
Leftovers and Storage
Good news: these keep really well.
- Room temperature: Store in an airtight container for up to 4 days.
- Refrigerator: Up to 1 week. Let them come to room temp before eating for the best texture.
- Freezer: Wrap individual brownies in plastic wrap, place in a zip-lock bag, and freeze for up to 3 months. Thaw overnight in the fridge or on the counter for a couple of hours.
FAQ
Can I use a box mix for the brownies?
Yes, you can. Use your favorite box mix as the base, then reserve about 1/4 of the batter for the red and blue swirls. Follow the rest of this recipe’s swirling and topping instructions. Nobody has to know.
Why did my colors turn brown after baking?
Blue food coloring is the usual culprit. It can shift toward a grayish-green when exposed to high heat. Using gel coloring (not liquid) and not over-swirling helps preserve the colors. Pull them from the oven on the earlier side too.
Can I make these in a smaller pan?
You can use an 8×8 or 9×9 pan for thicker brownies. You’ll need to add 5-10 minutes to the bake time and watch closely. The swirl design may be slightly trickier to execute but still works.
Do the brownies need to be refrigerated?
Not necessarily. They’re fine at room temperature for up to 4 days in an airtight container. Refrigerate if your kitchen runs warm or if you’ve added a cream cheese topping.
What if I can’t find red, white, and blue sprinkles?
You can mix your own using separate red, white, and blue nonpareils. Or skip the sprinkles and let the swirl design do all the work. The brownies still look stunning without them.
Can I add mix-ins to the batter?
Absolutely. Chocolate chips, chopped walnuts, or pecans folded into the base batter (before the colored portions) add great texture. Add no more than 1/2 cup so you don’t interfere with the swirl.
Wrapping Up
This is one of those recipes that looks like it took way more effort than it did.
One pan. A few swirls of color. A sprinkle of patriotic flair. And you’ve got something that people will photograph, compliment, and ask you for the recipe on.
These 4th of July brownies are the kind of thing you make once and then become the person who brings them to every summer gathering for years.
So give it a go this holiday. And when you do, come back and drop a comment below. Tell me how they turned out, what you changed, what questions you have. I love hearing how your kitchen adventures go. 🍫🇺🇸